WJ1Kit™
he WJ1Kit™ fits the transfer case (4X4) shift cable. The part will fit both ends of your cable.
*Some of the images were taken off-vehicle for illustration purposes.
| Repairs Shift Cable Ends Similar to Below: |
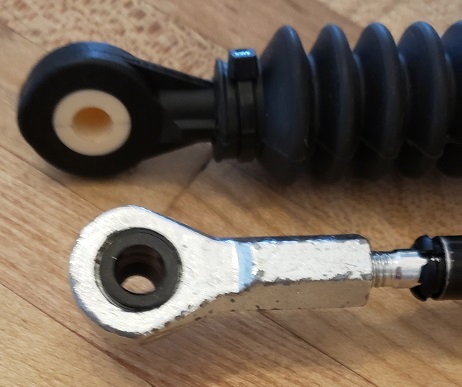 |
Step 1: Place the vehicle in park, set the parking brake and block the wheels.
Step 2: Remove all of the old bushing
The cable end without a bushing will like like the one below.
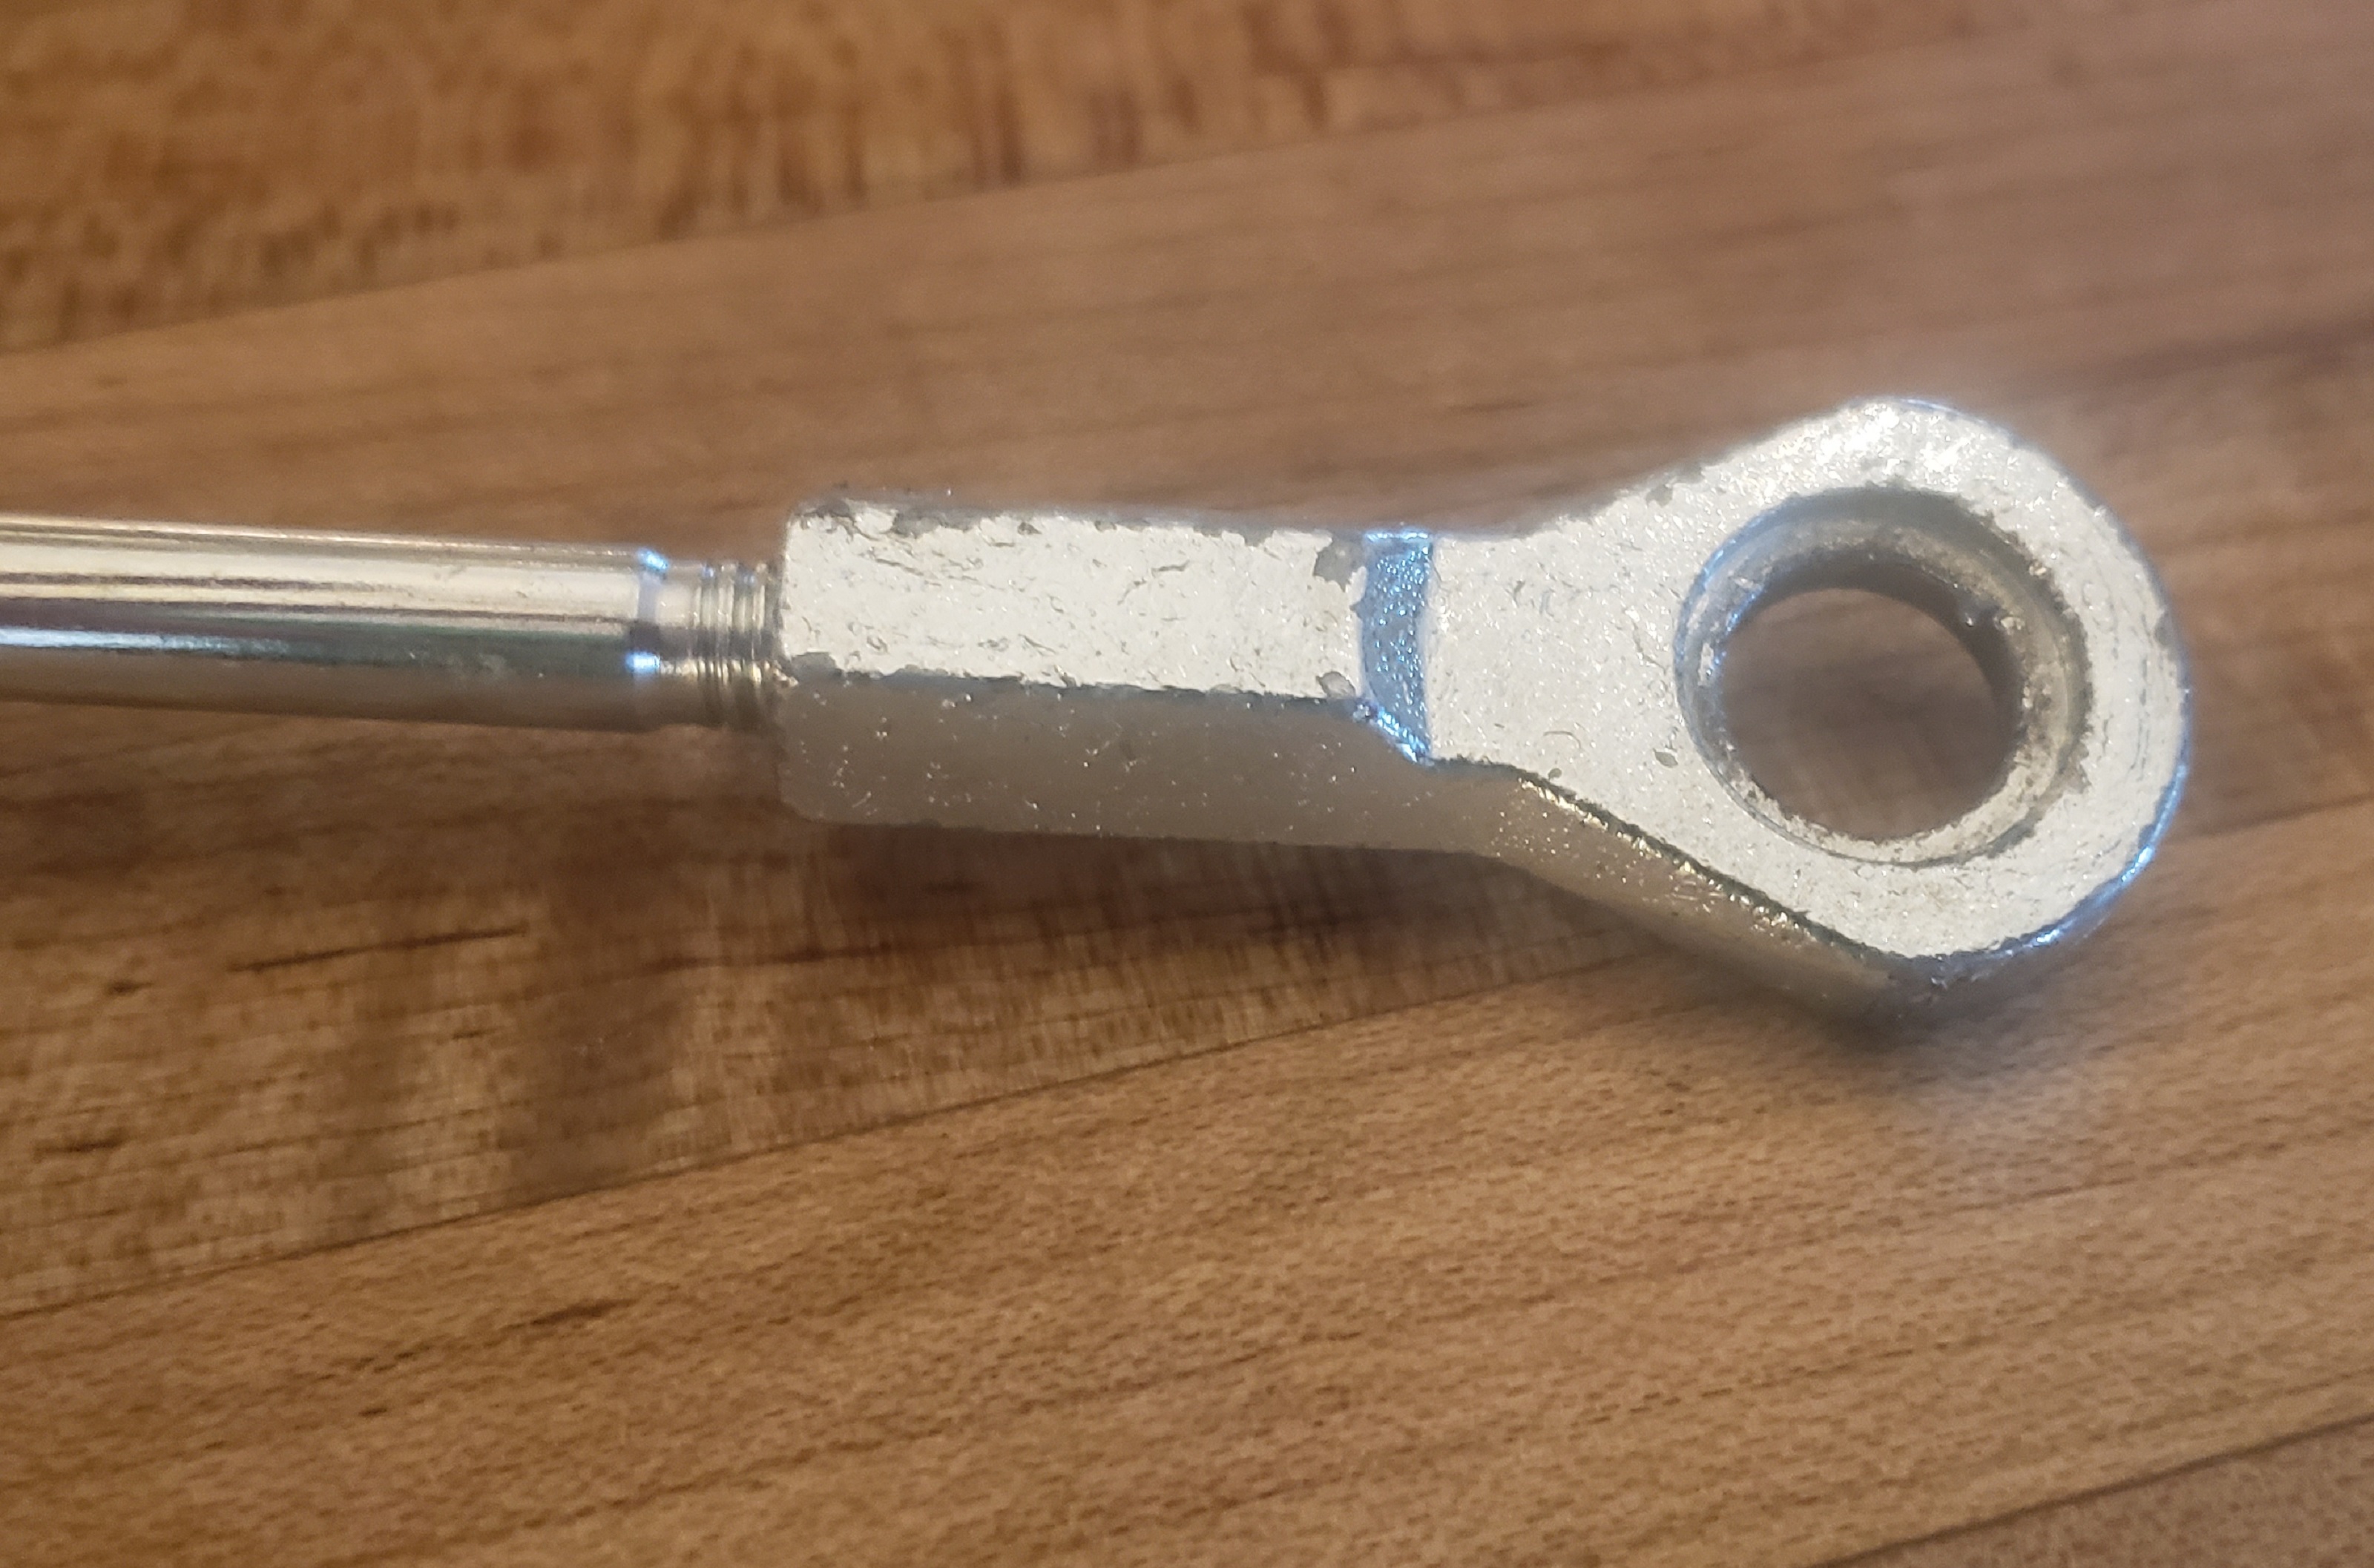
Step 3: Replacement Bushing Installation (Metal Cable End and Plastic Cable End)
I. Metal Cable Ends:
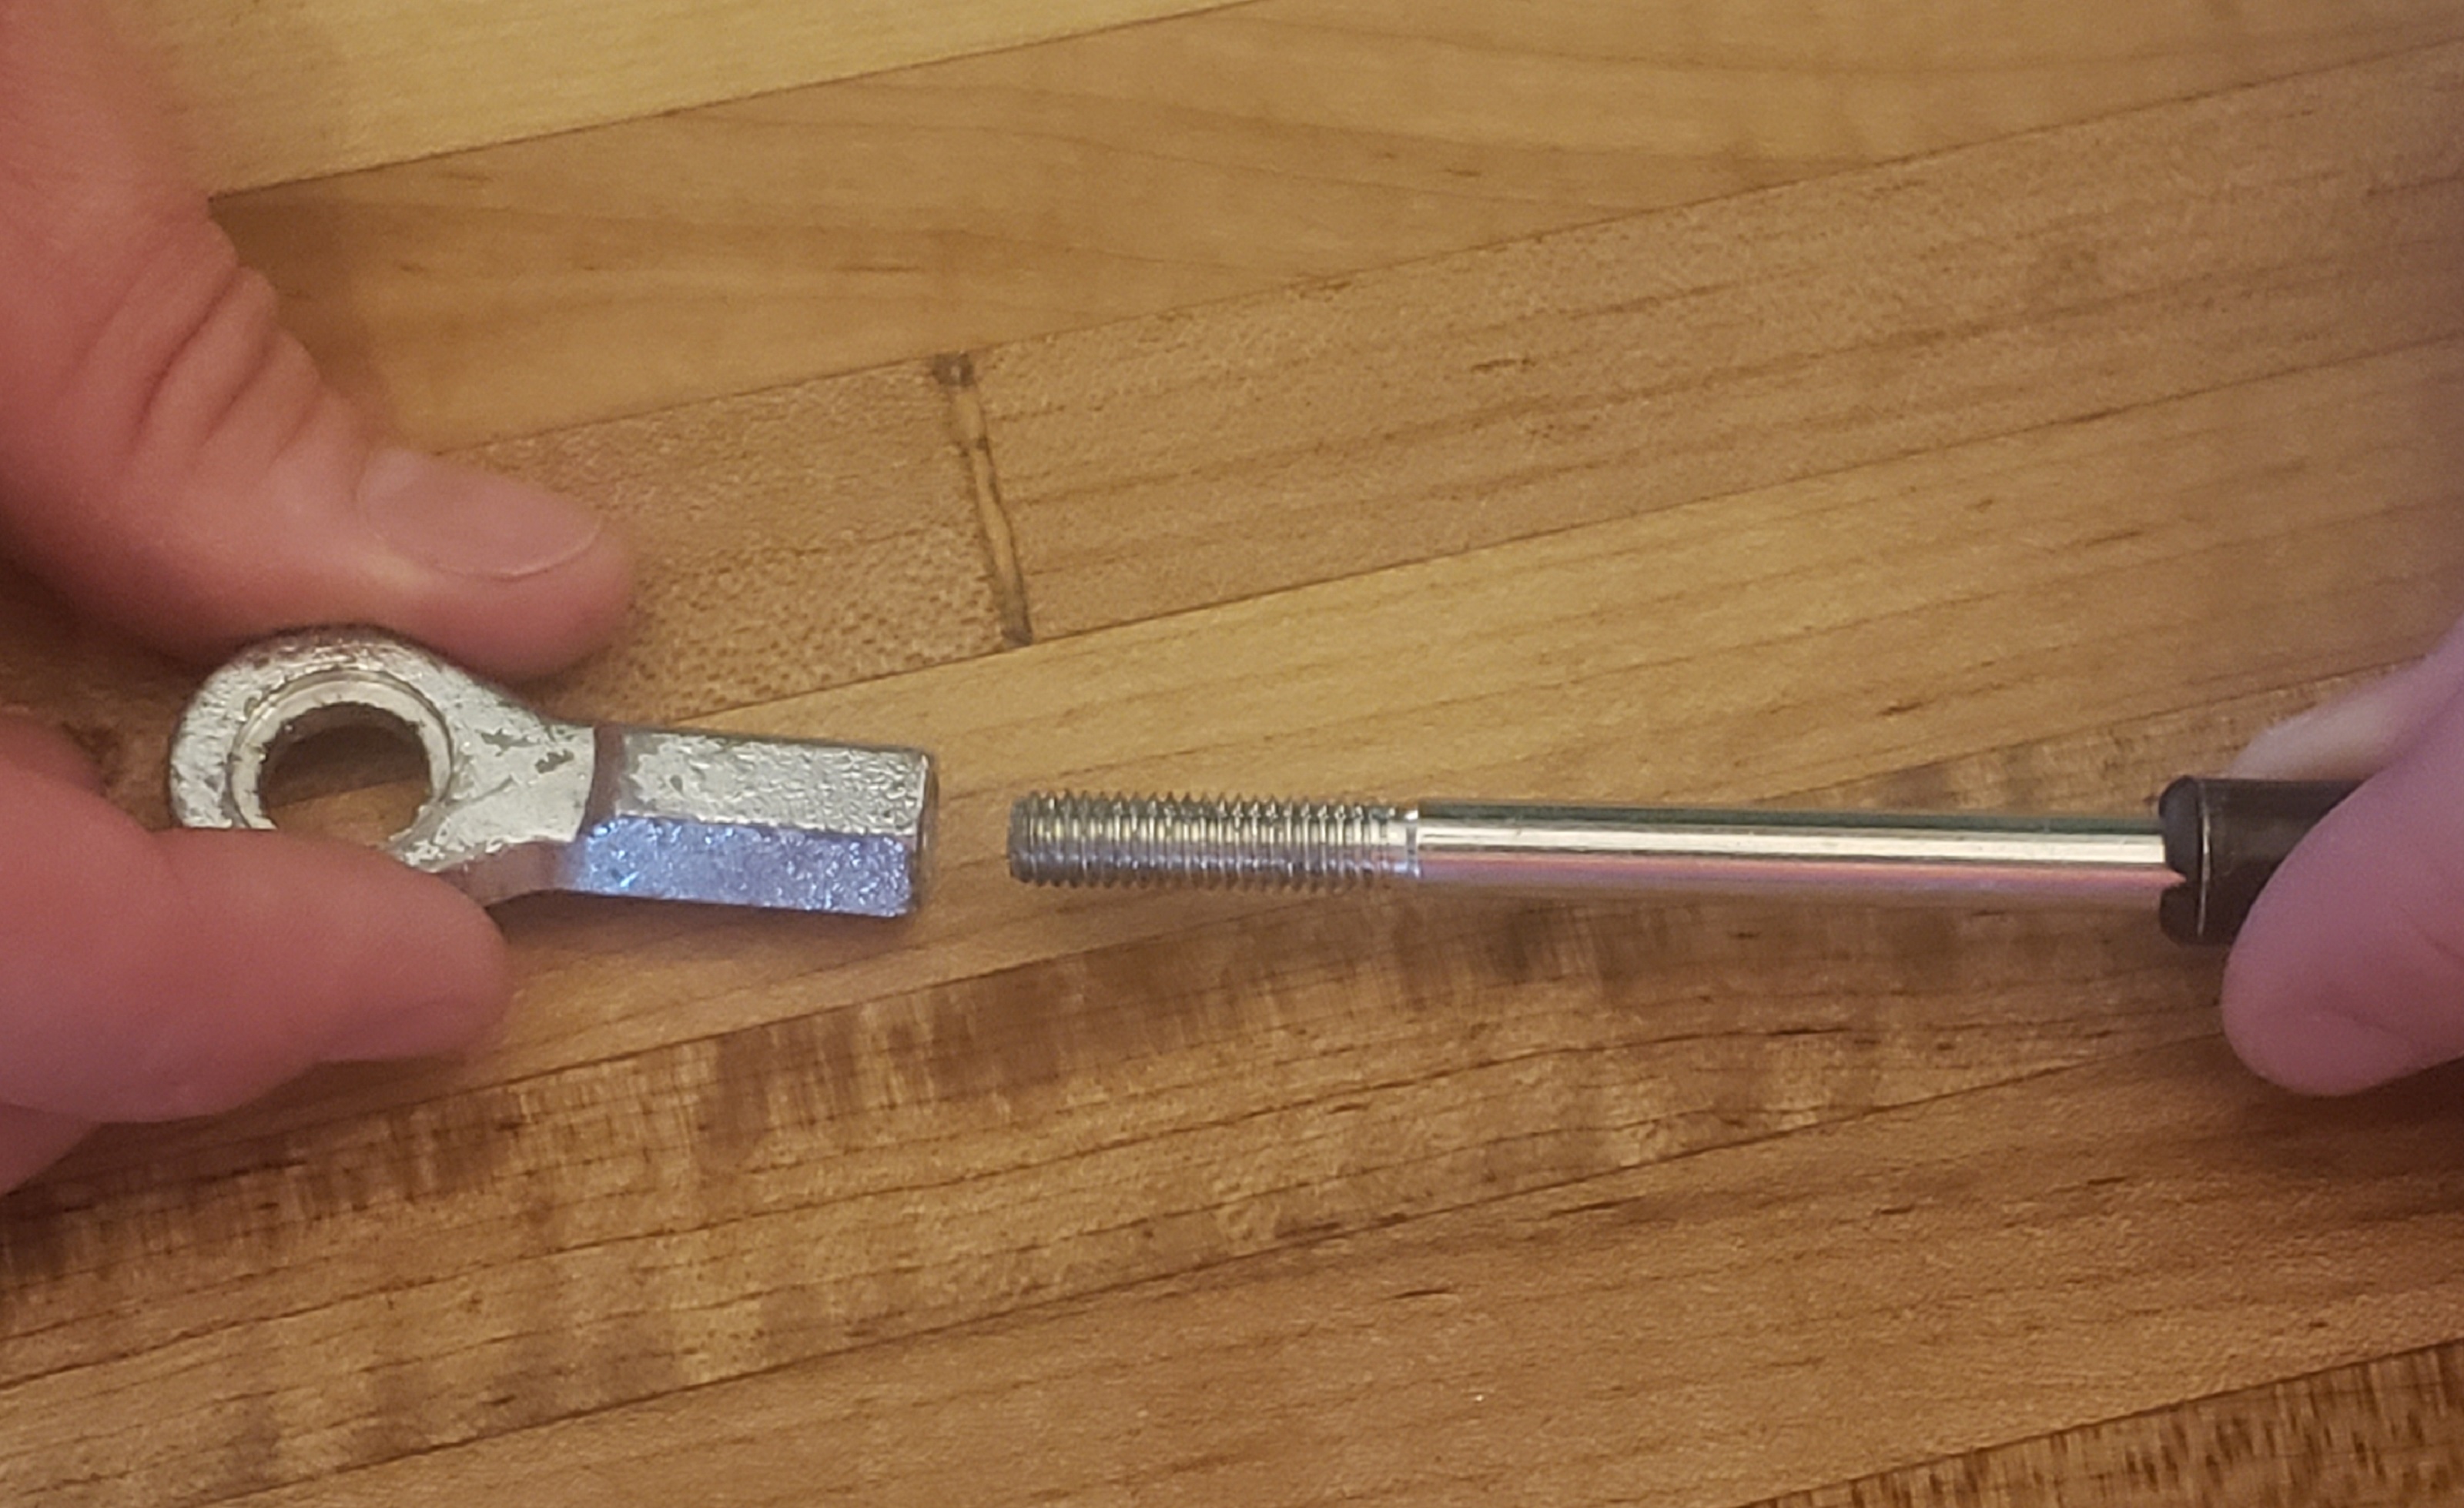
- a) Unthread the metal cable end from the cable as shown below. This will allow you to install the replacement bushing on a work bench free from the vehicle.
- b) Place the new bushing tapered end up on a flat work surface. Push the metal cable end down onto the bushing until the bushing is seated on the interior ridge of the cable end.


II. Plastic Cable Ends:
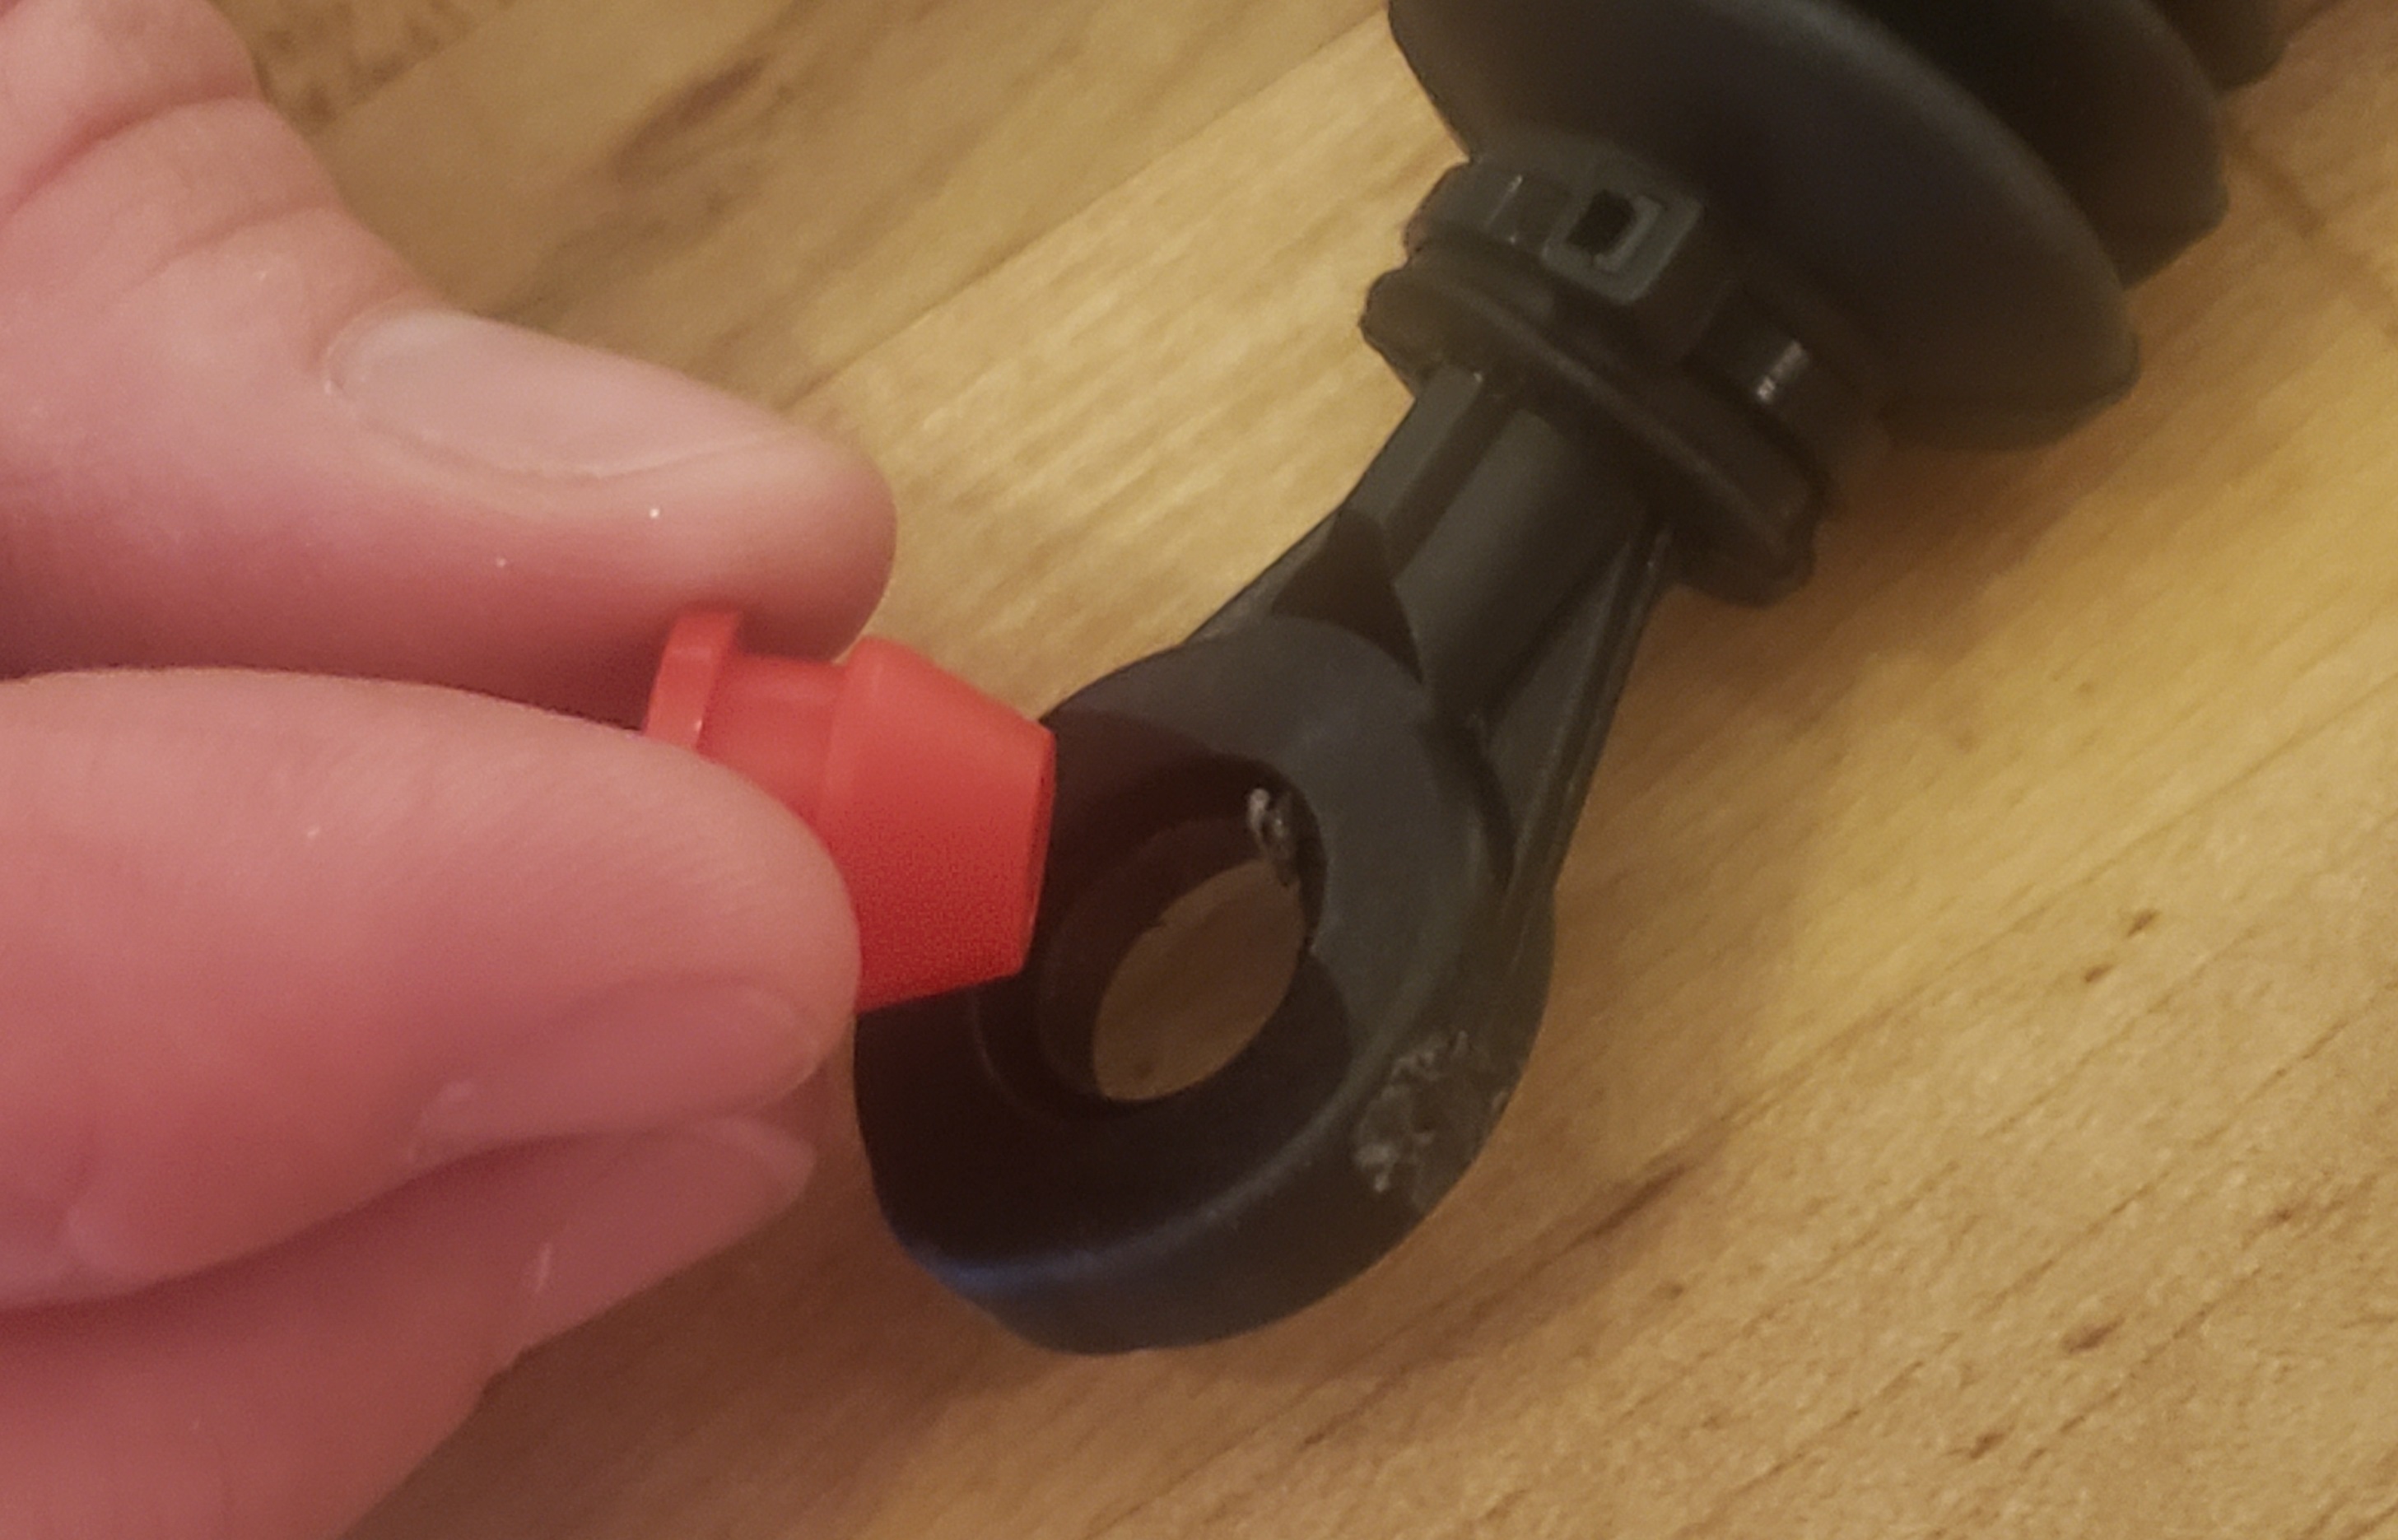
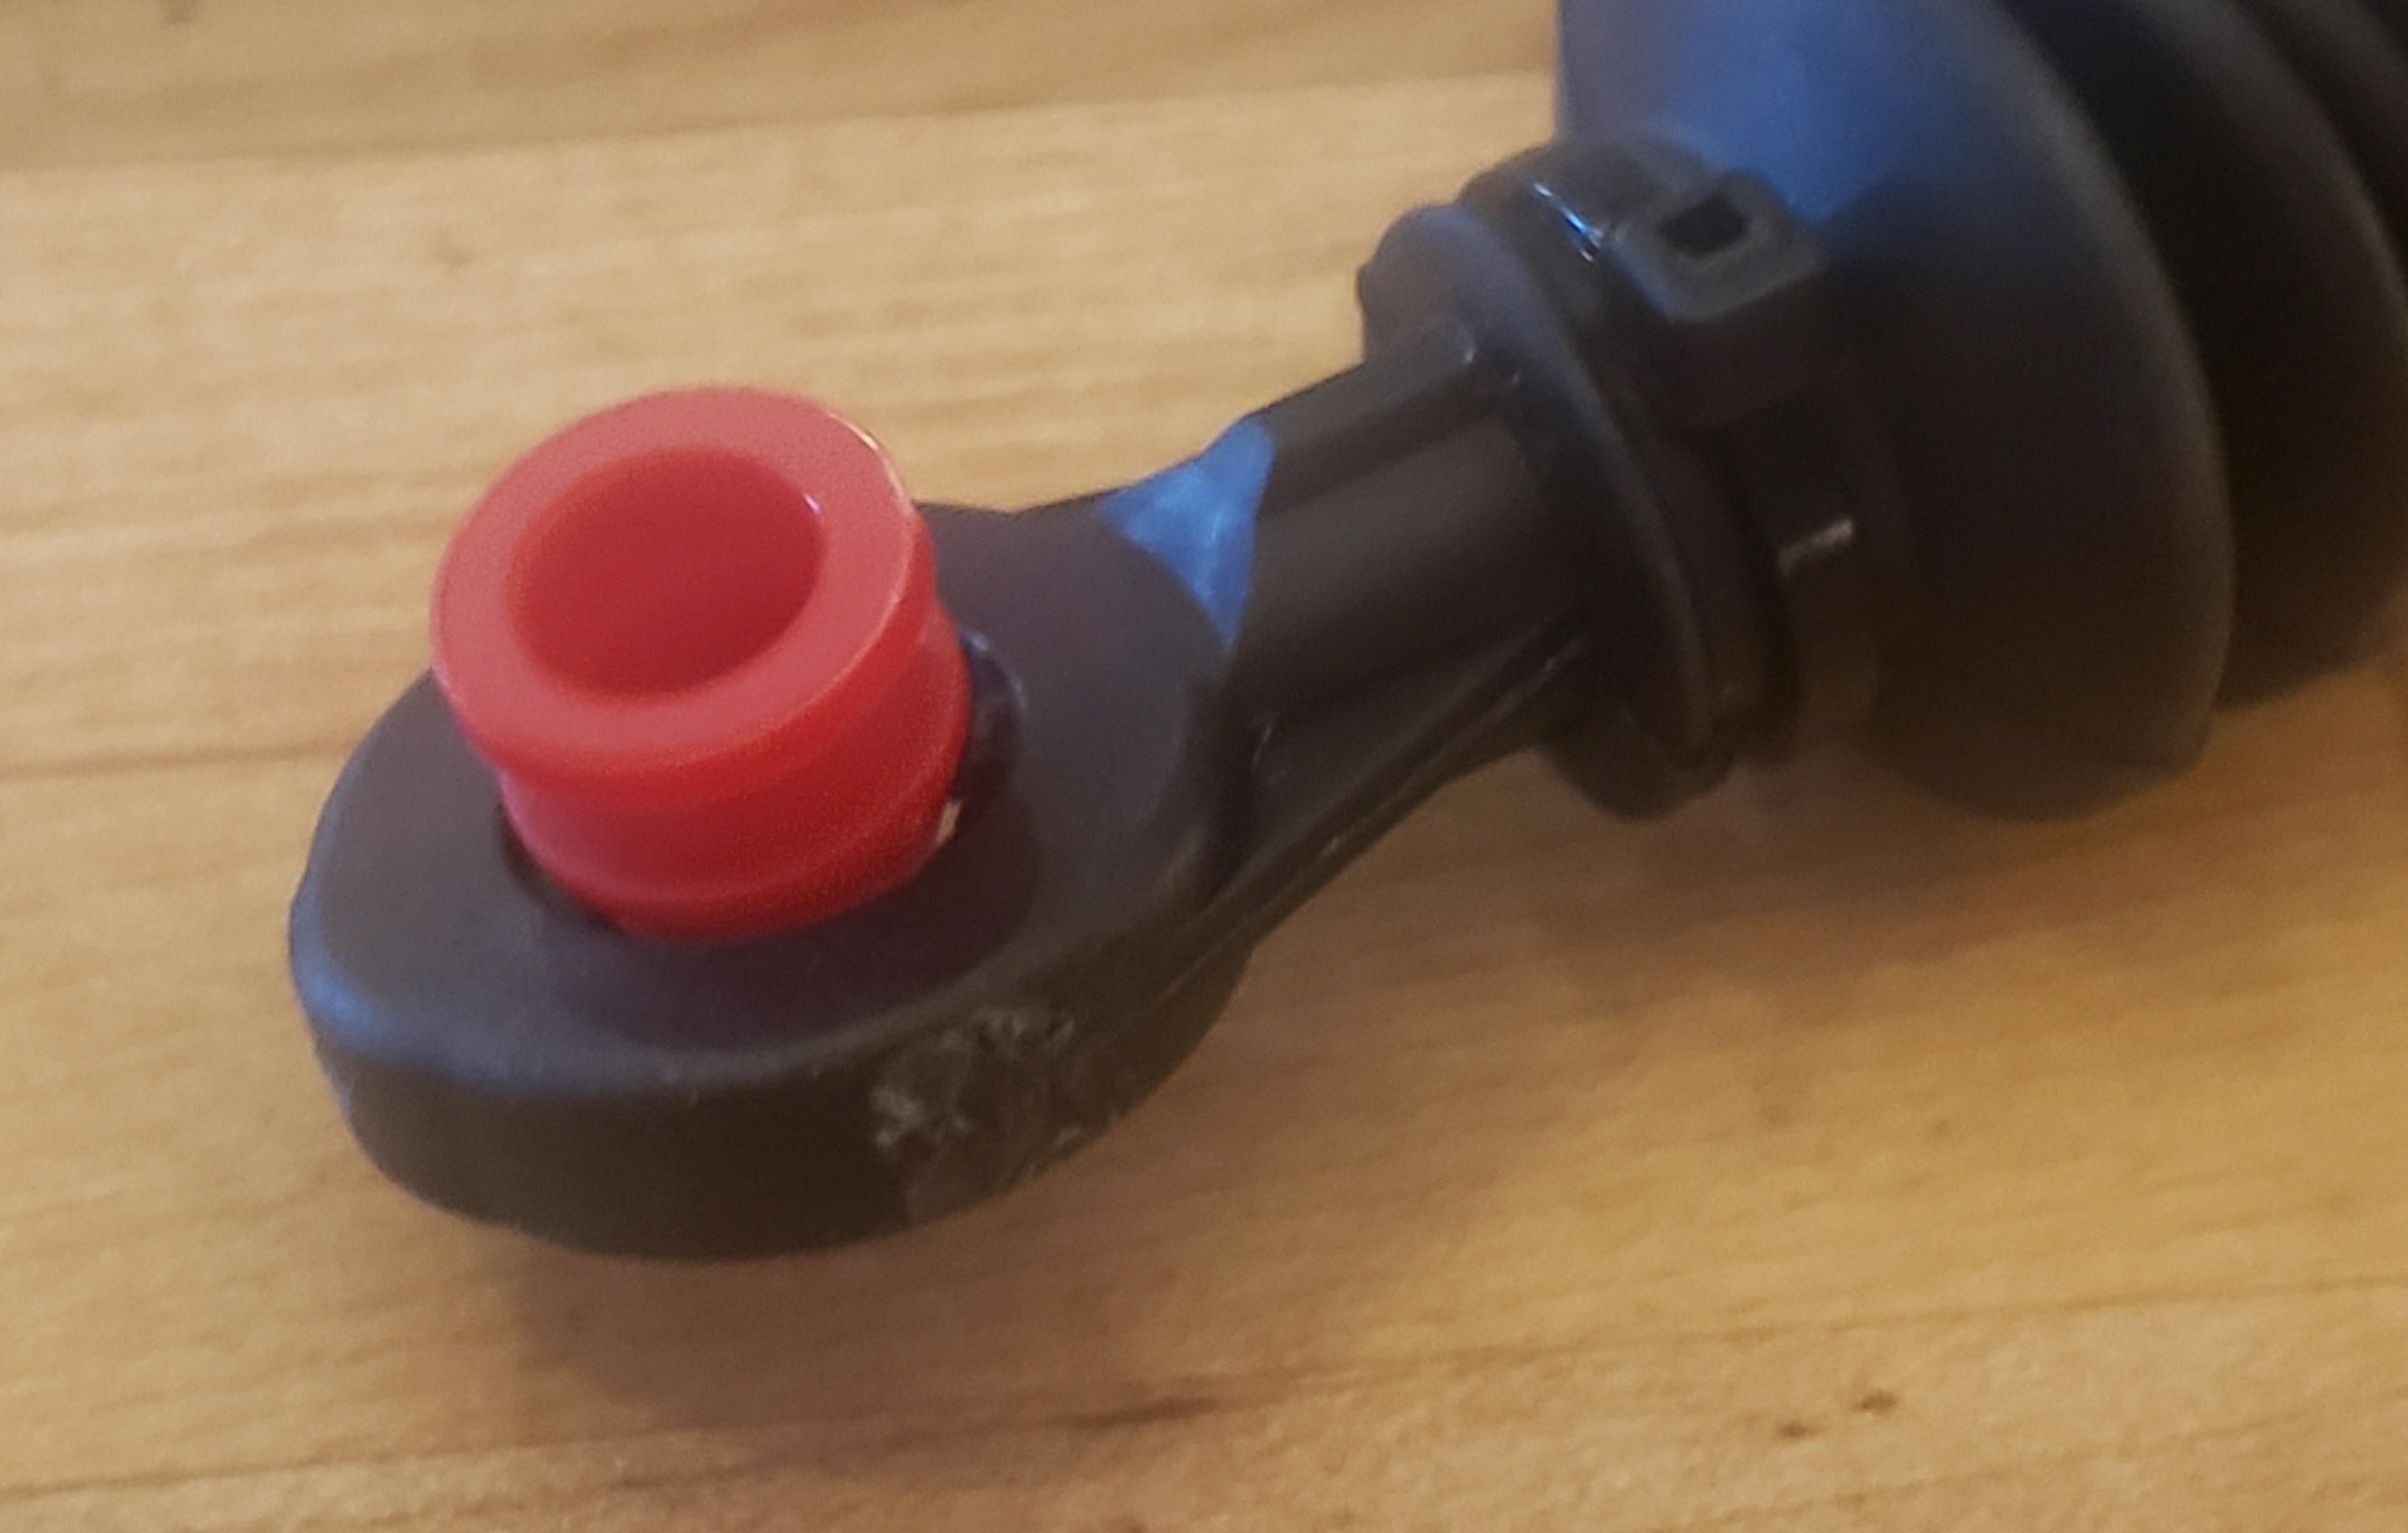
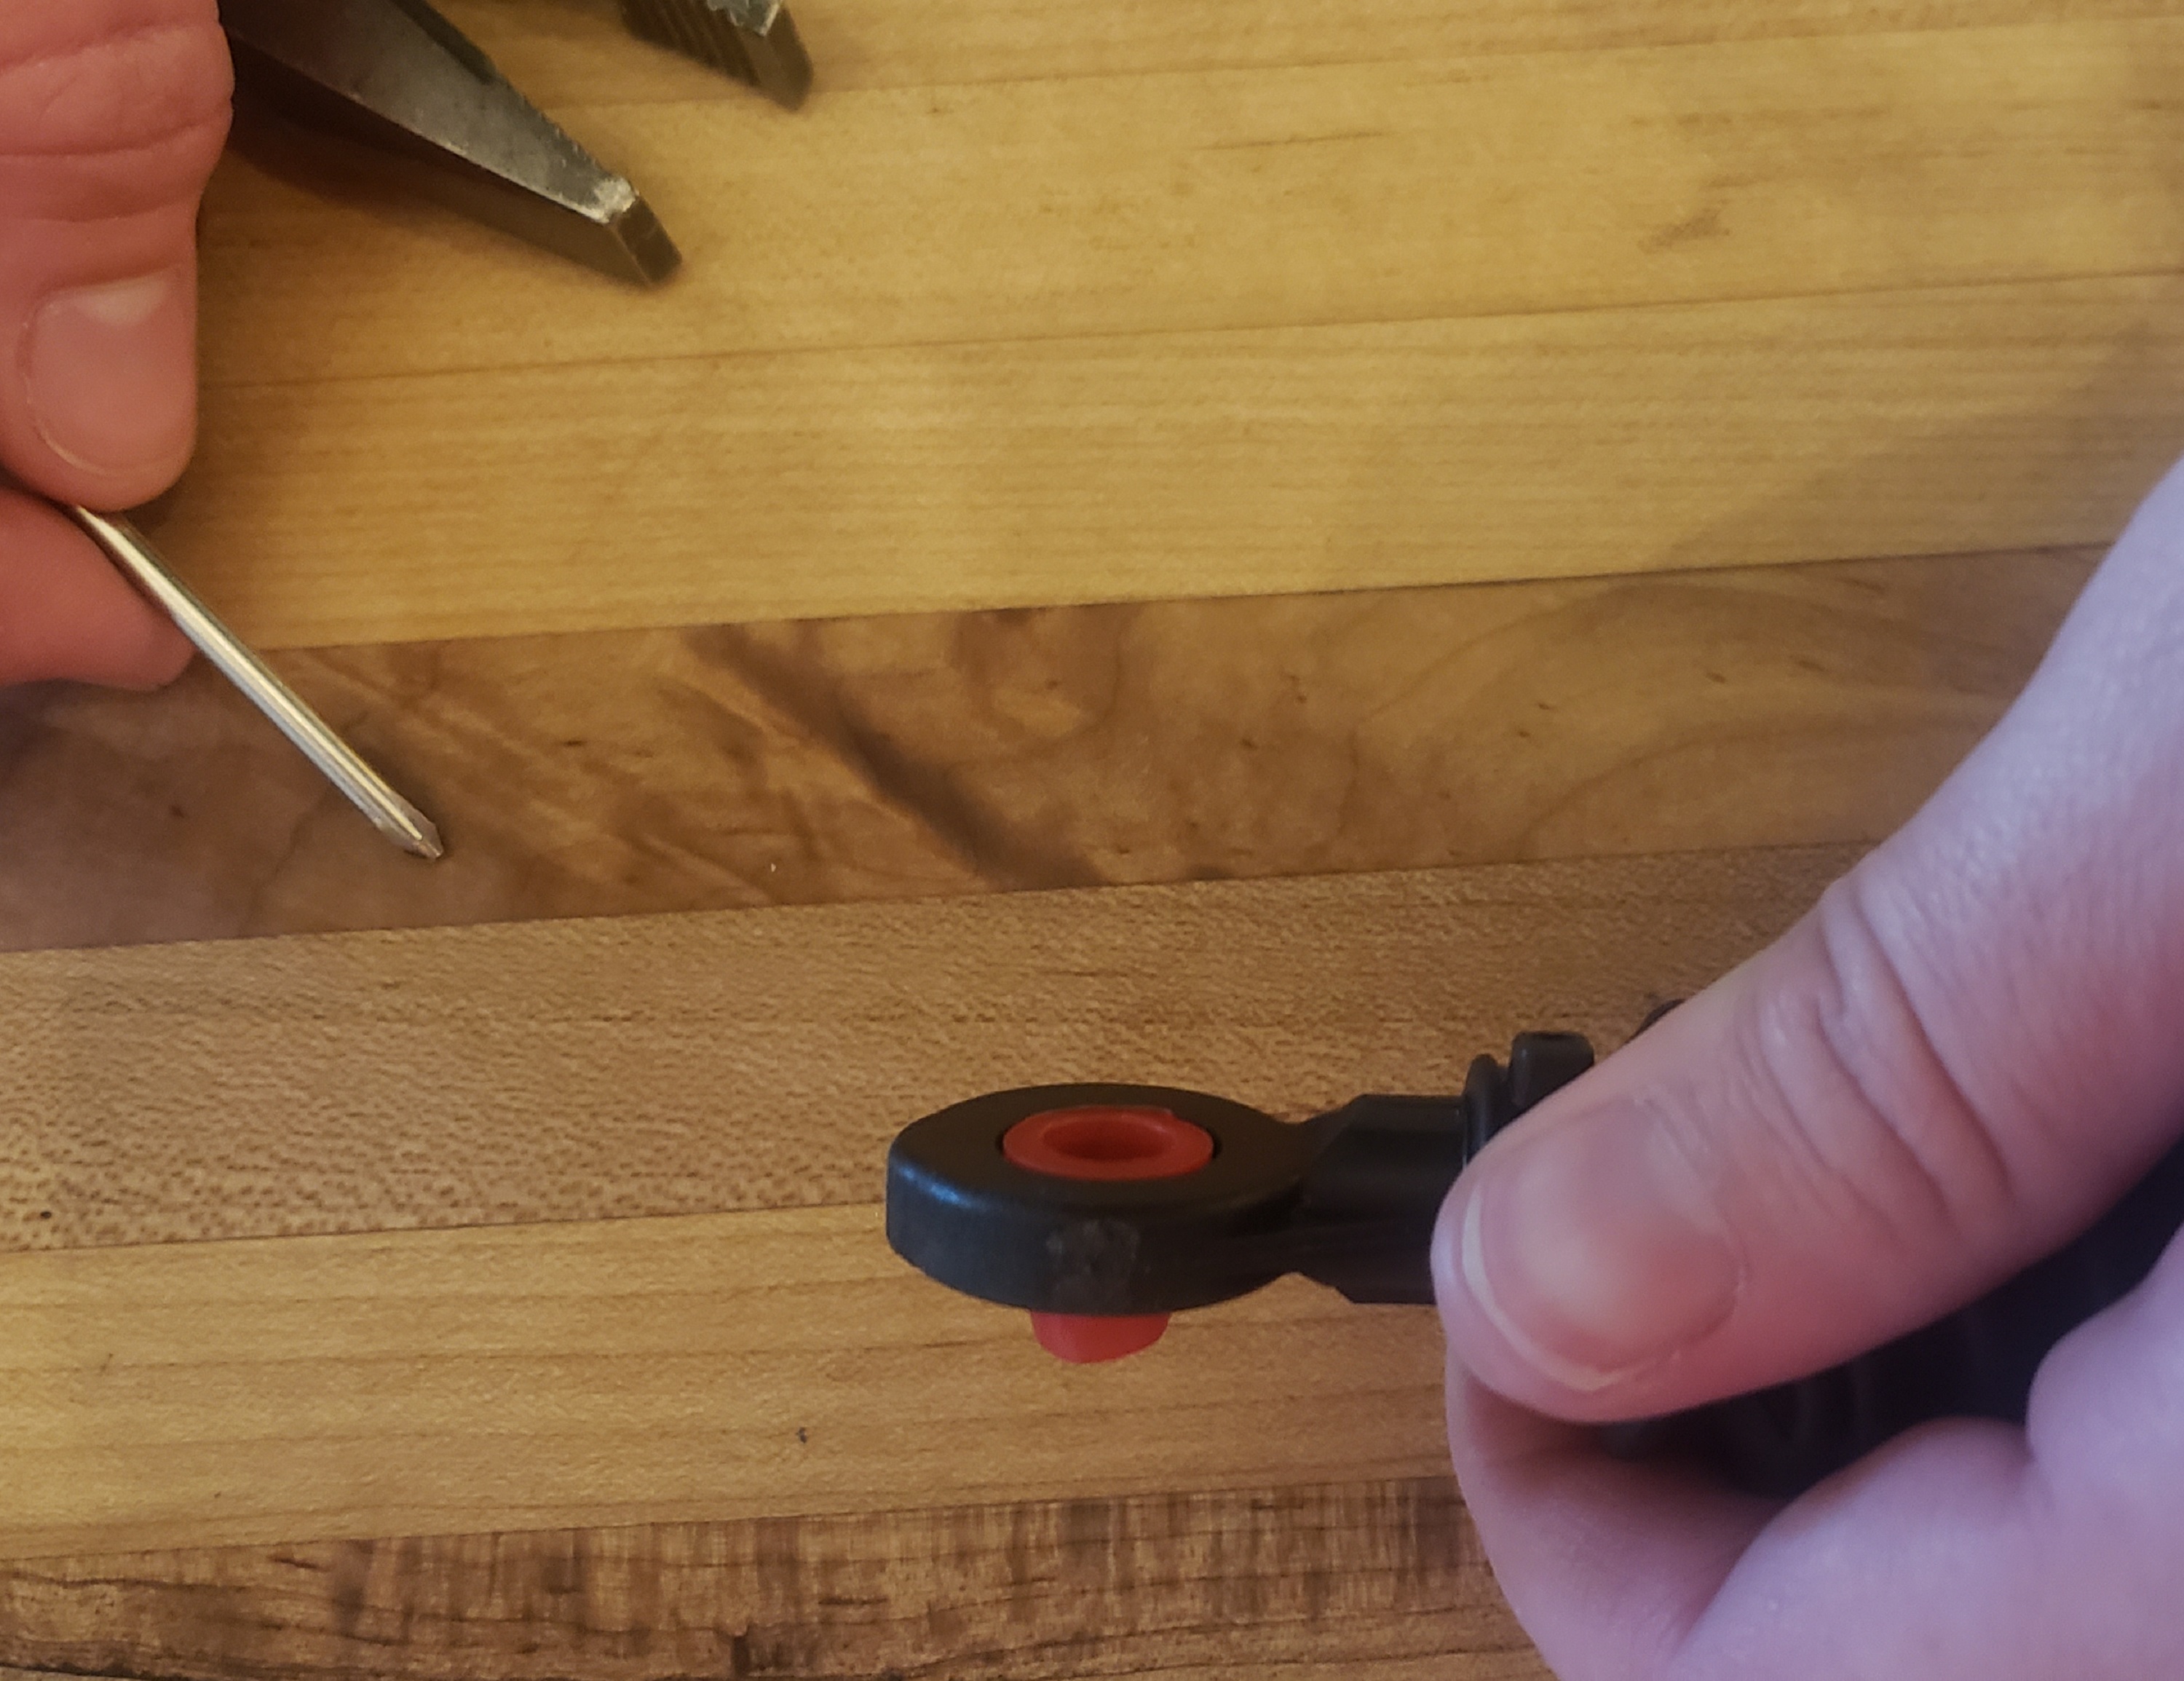
- a) Plastic cable ends are not removable and the bushing will need to be replaced in the field.

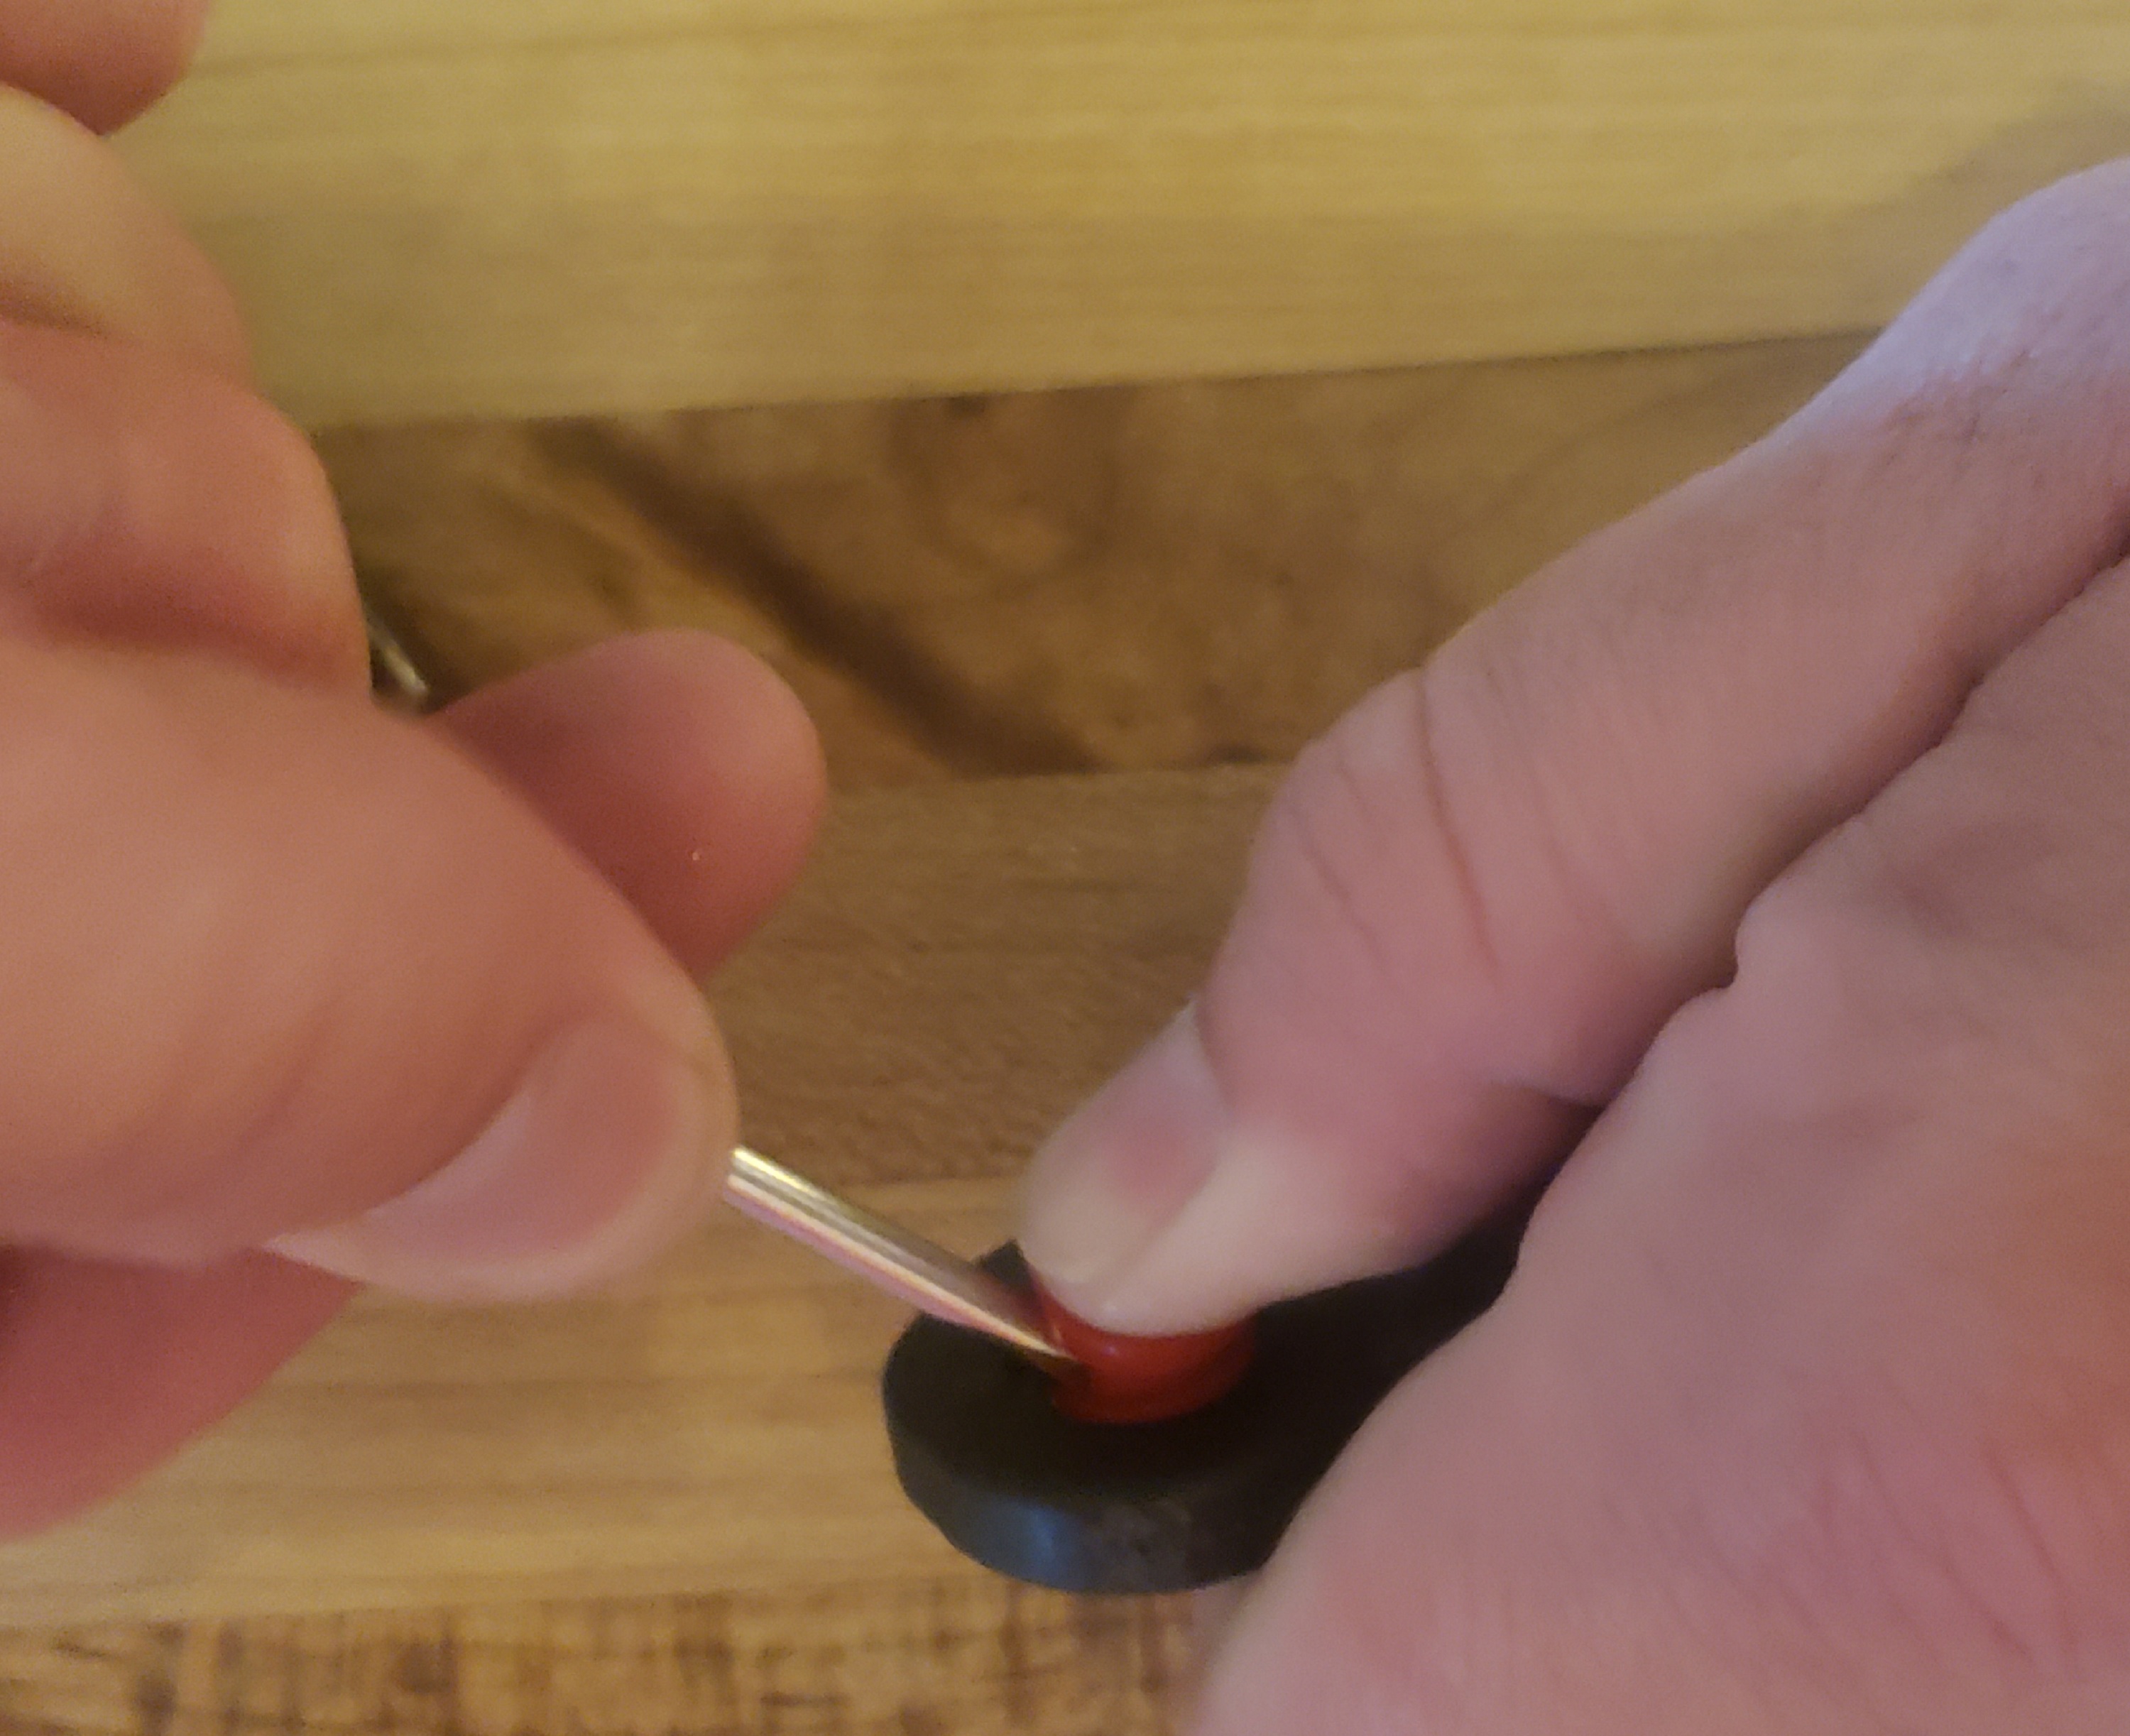
- b) Place the tapered end of the bushing into the cable end. Place your thumb over the bushing and using a small pocket screw driver push the bushing into the cable end as show below.
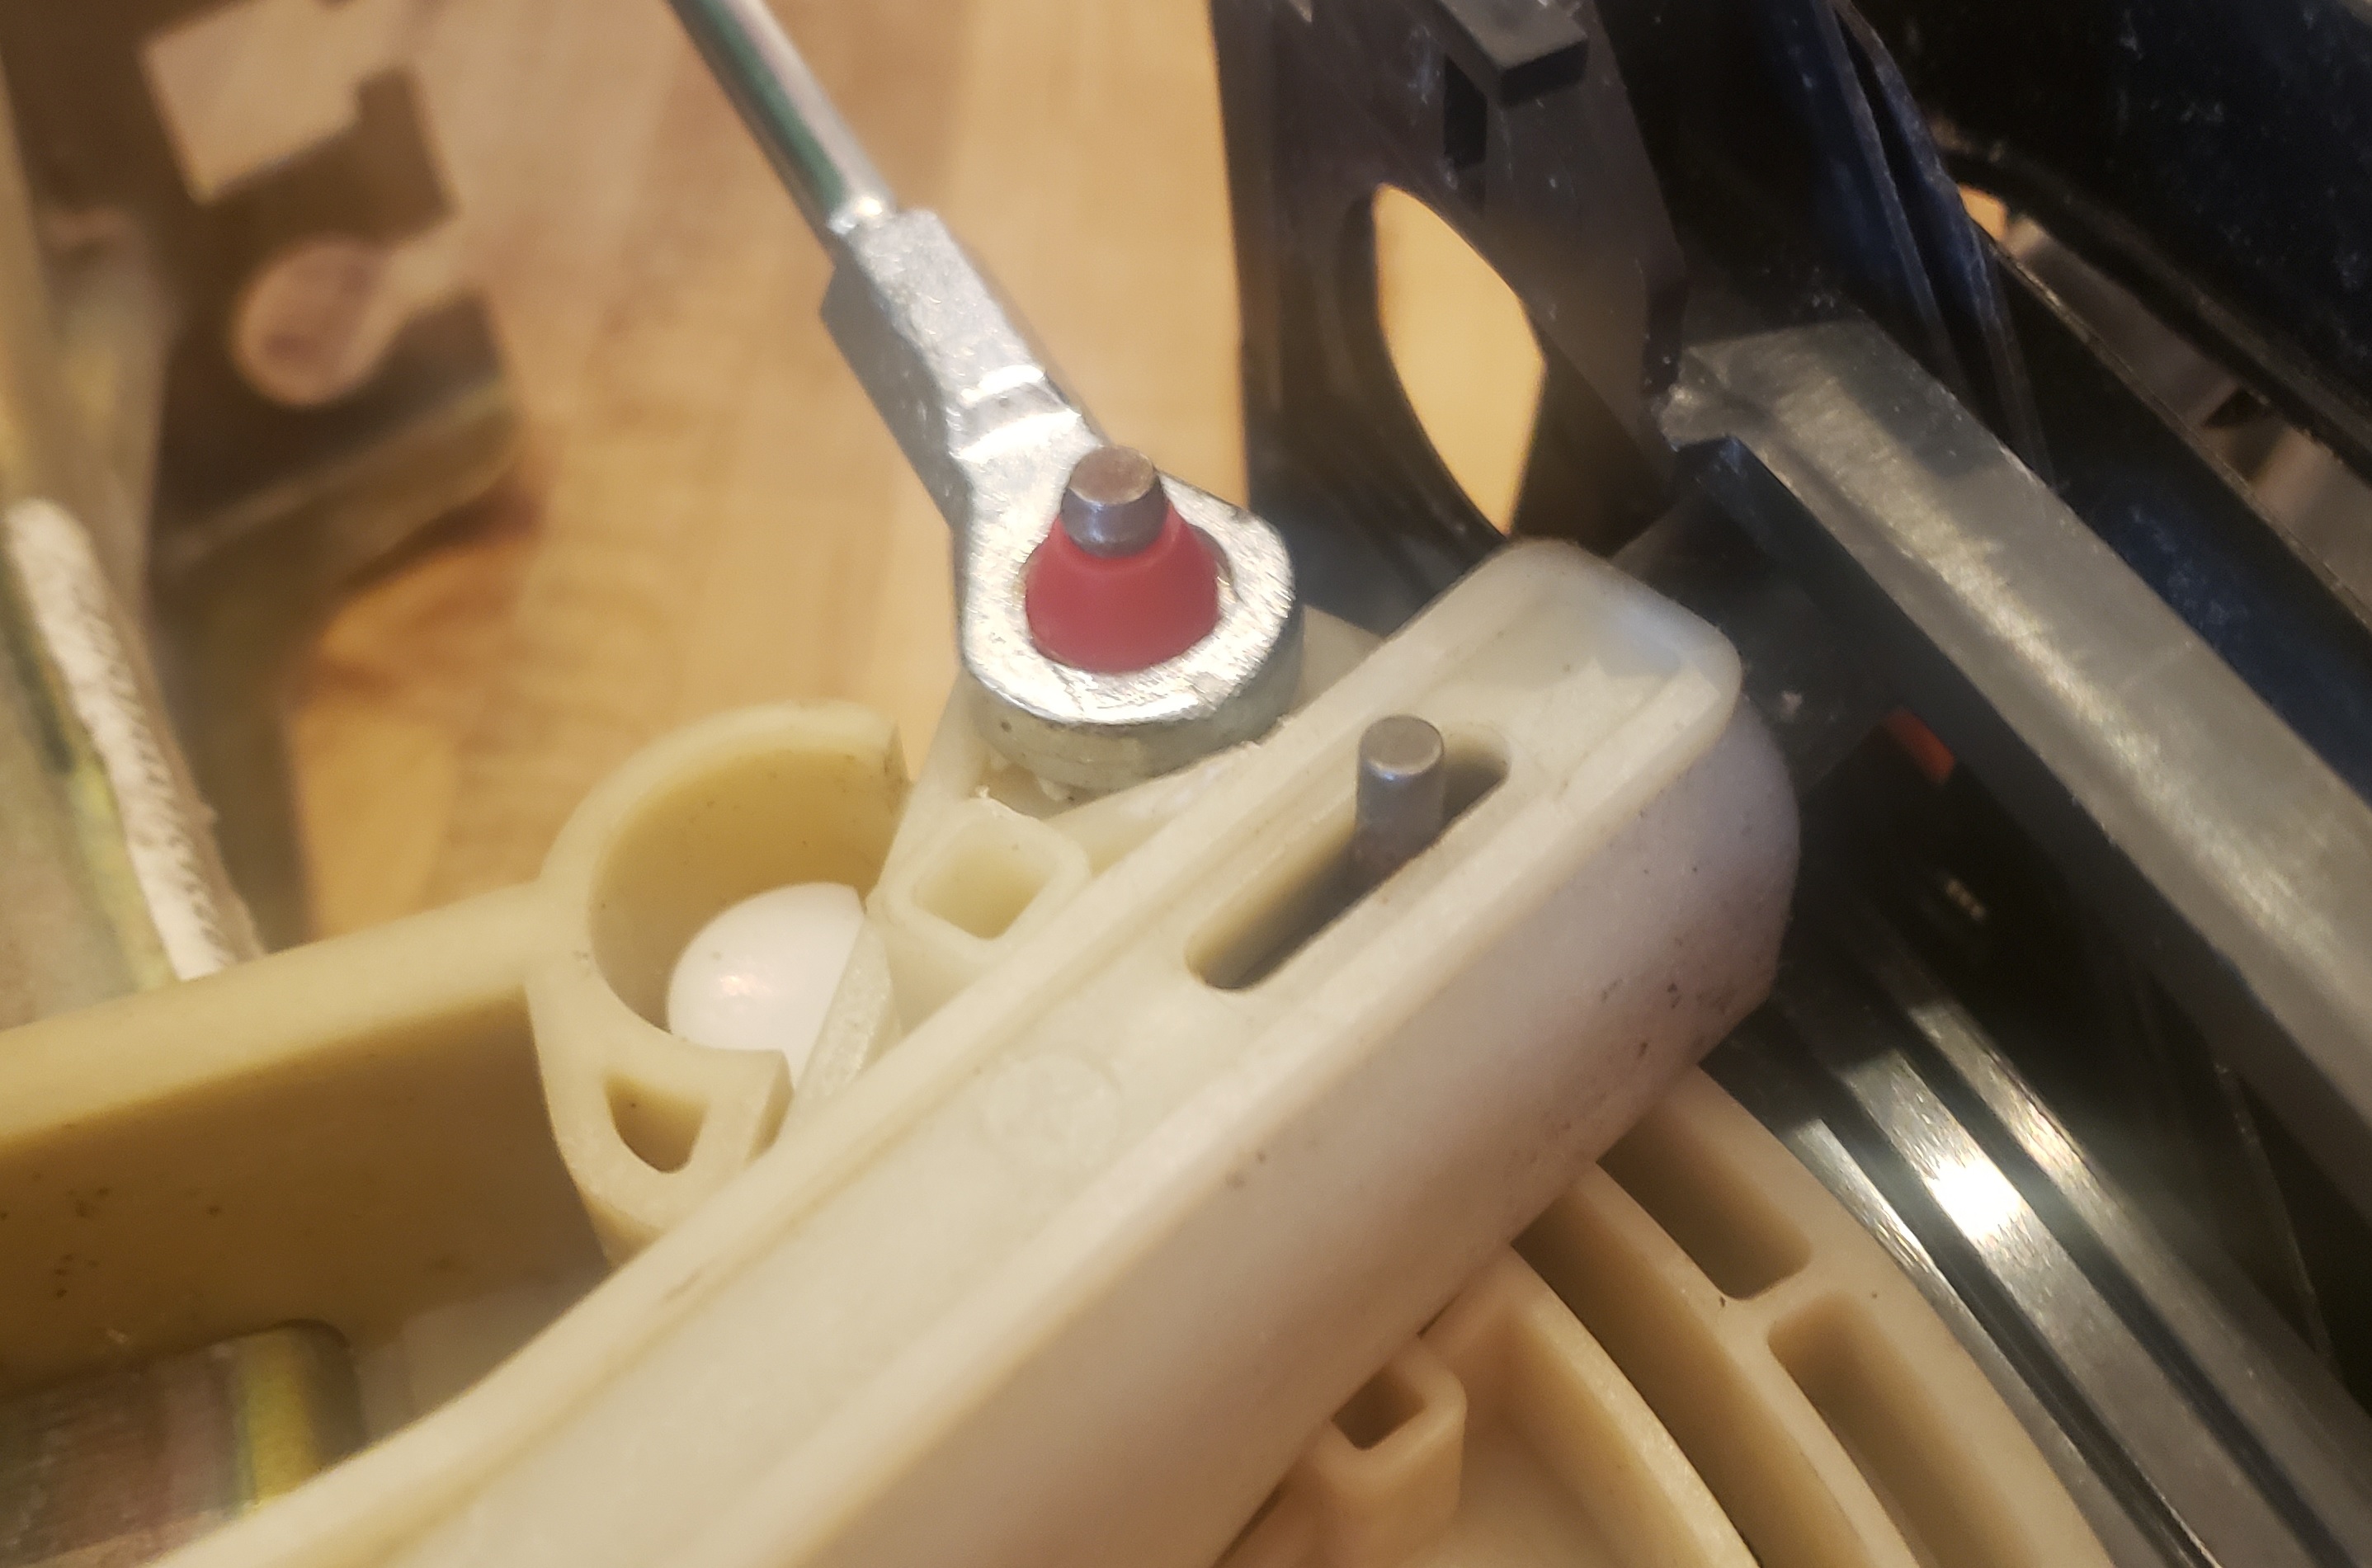
Step 4: Installing Repaired Cable End onto Shift Lever
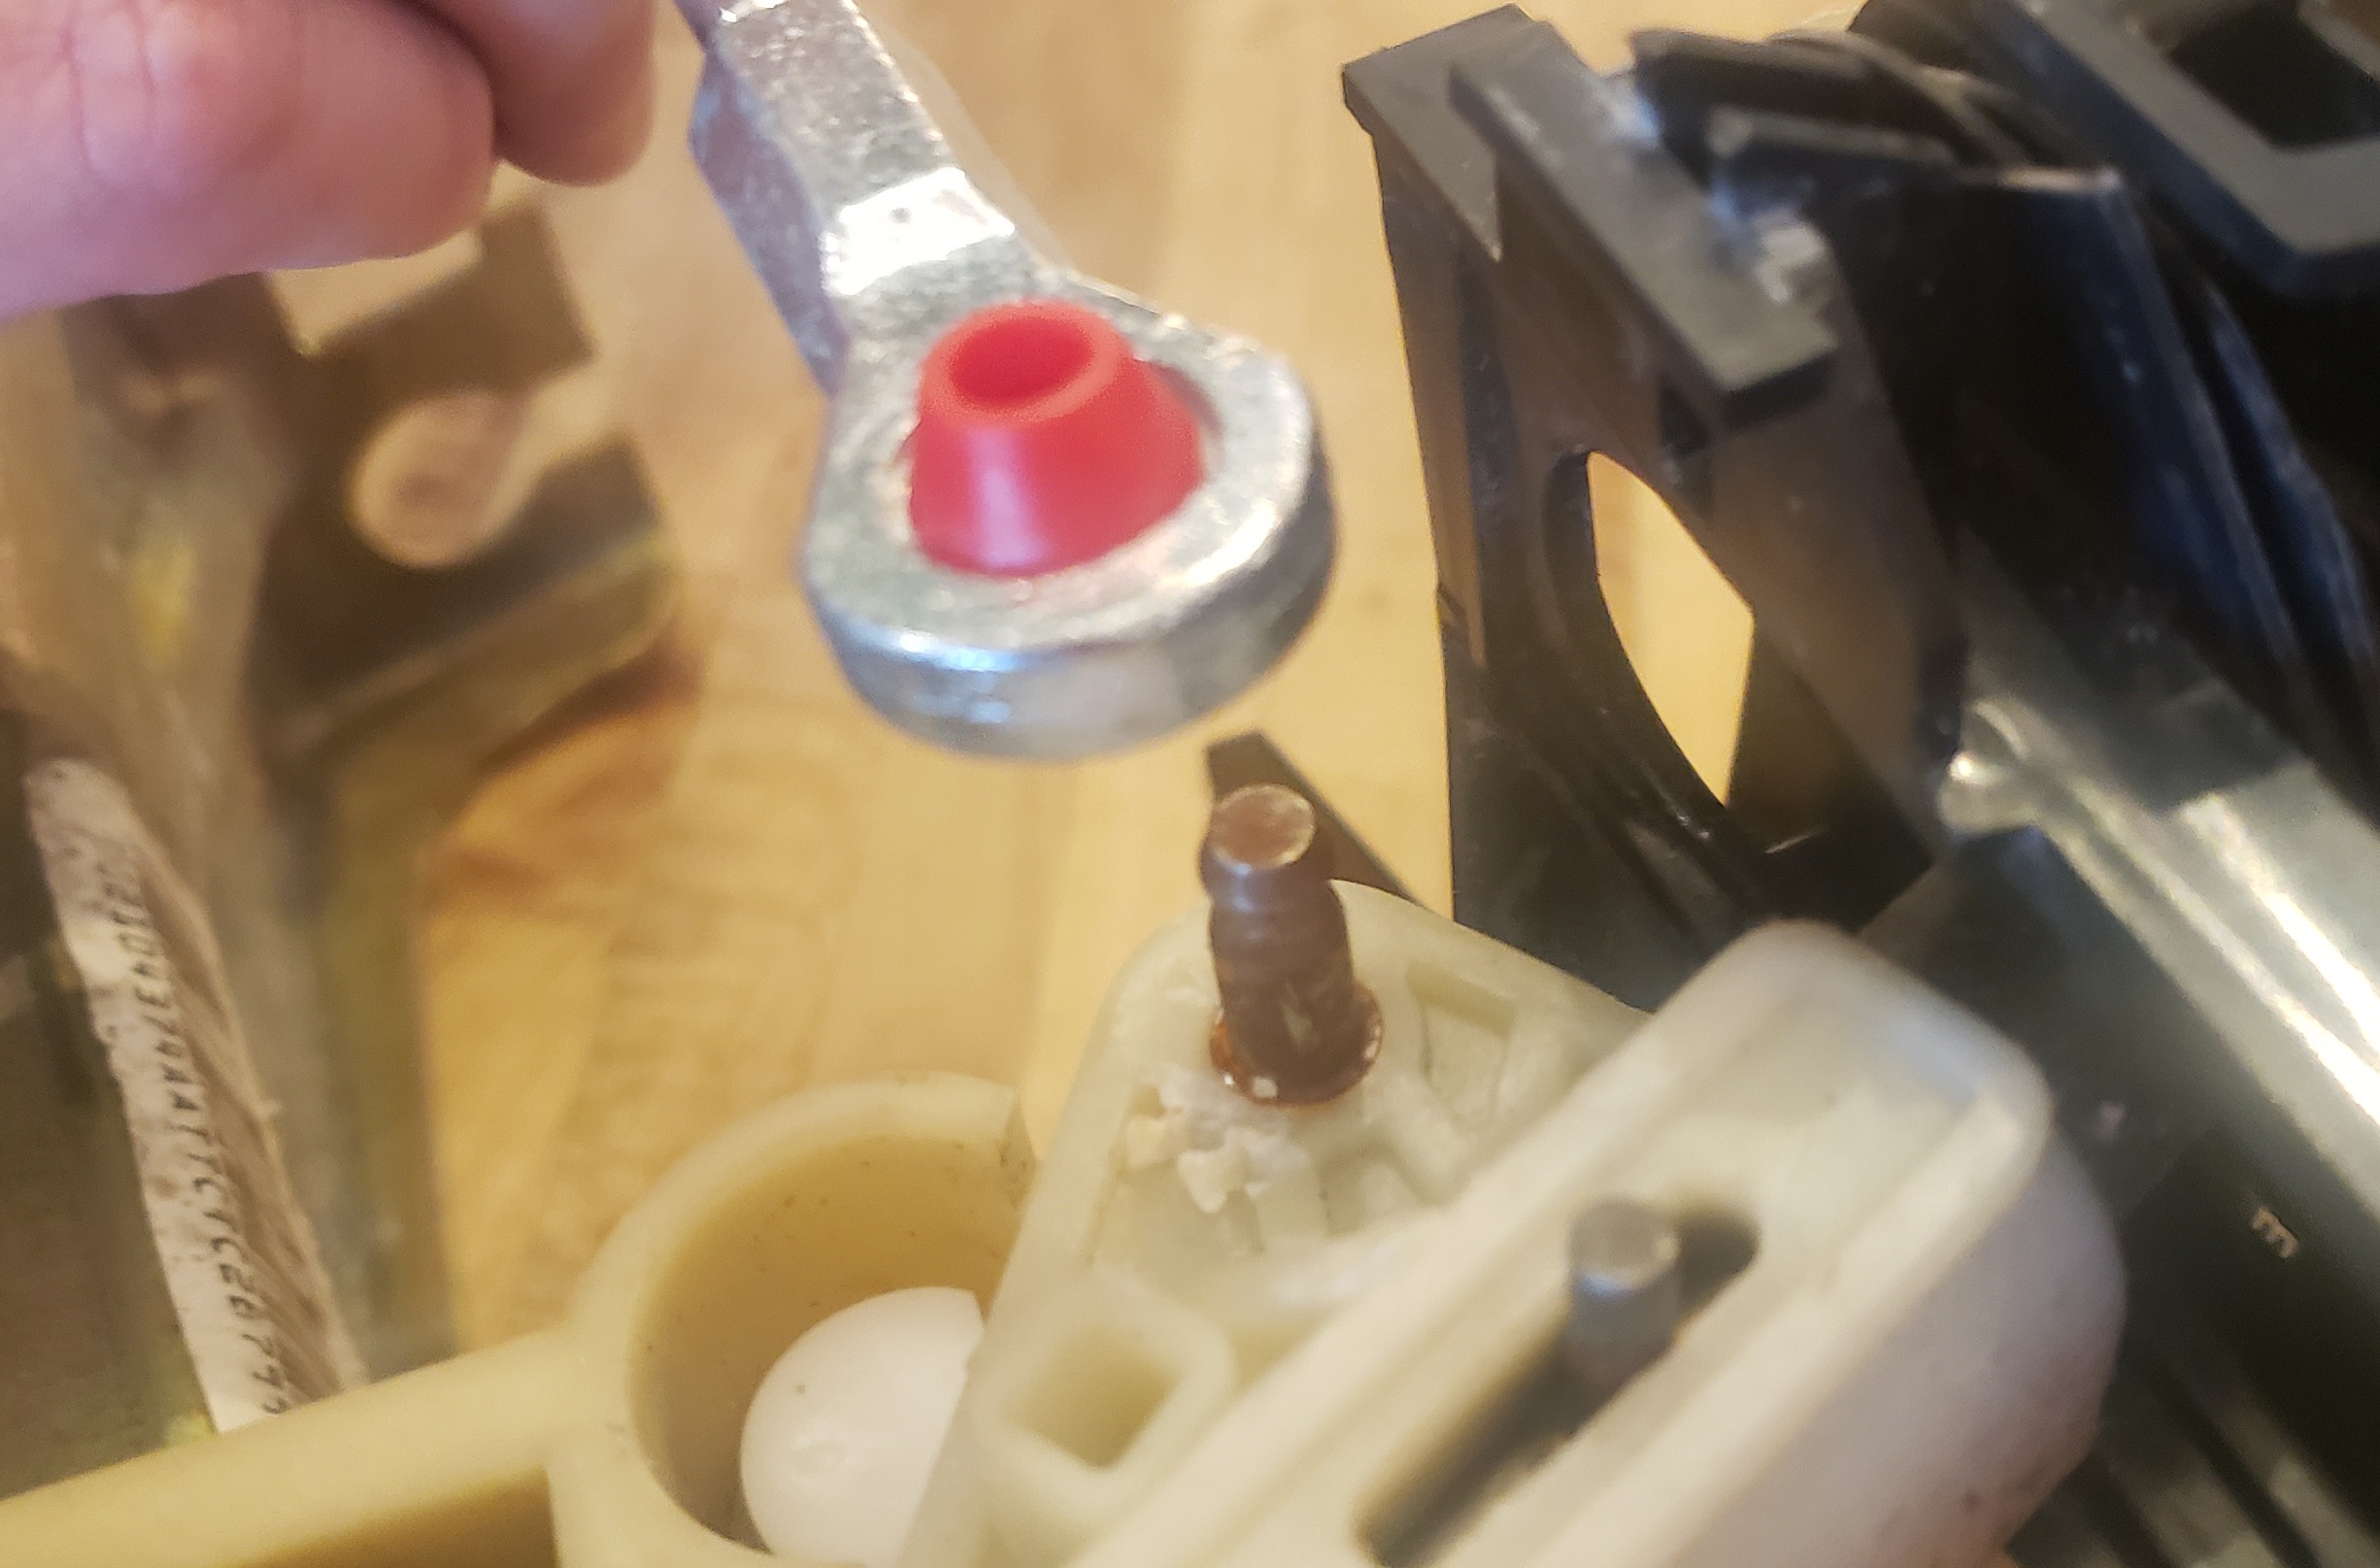
I. Press the repaired cable-end onto the shift lever pin. The pin should go through the large side of the bushing first.
 |
 |
 |
II. Check the shift lever function by shifting several times through the full selector range.
III. Don’t forget to release the parking brake and remove the wheel blocks.
