TB1Kit™
The TB1Kit™ fits the following cable styles:
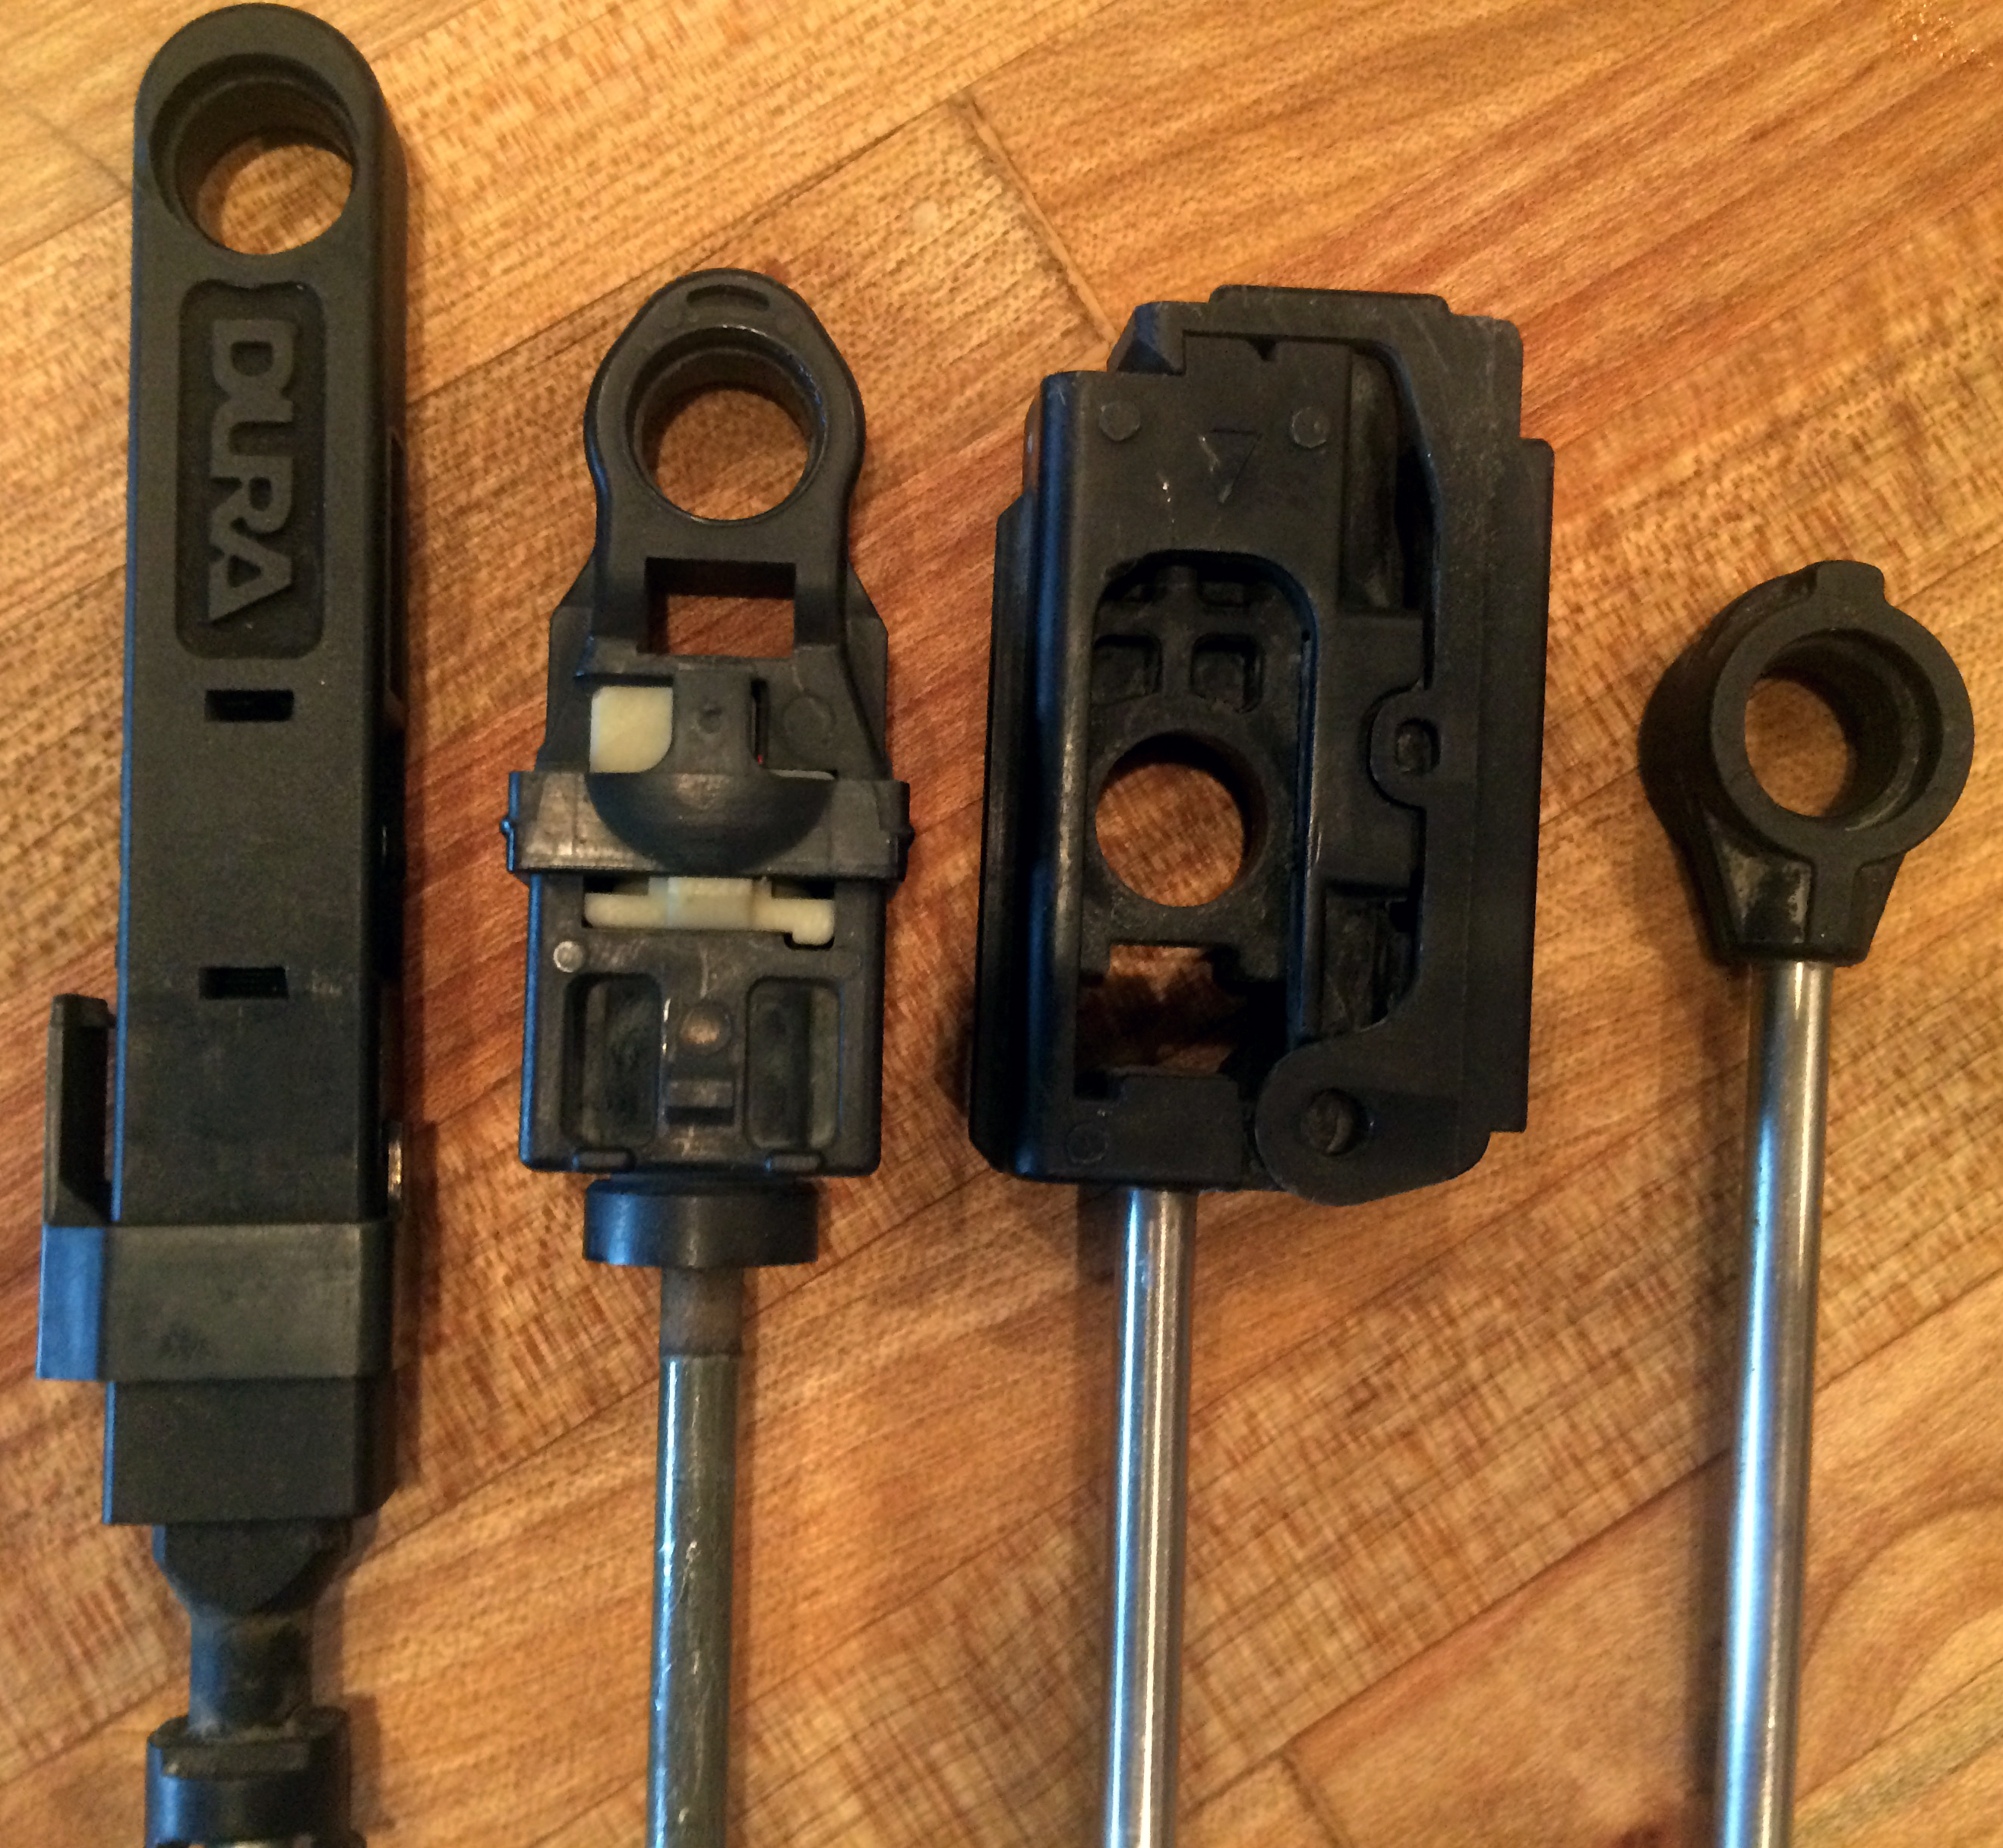
*Some of the images were taken off-vehicle for illustration purposes. This part fits cables other than the one shown here.
1. Set the parking brake or block the wheels. Place the transmission lever in park. You can verify its position by checking the PRNDL indicator inside the vehicle. Next, access the shift cable end. It's underneath the vehicle, about where the front right side of the driver's seat would be. If your bushing is broken, it'll probably be hanging down slightly.
2. If there are any remains of the old bushing, remove them from the cable end with a pick or small screwdriver.
3. Install the cup over the notched end of the bushing.
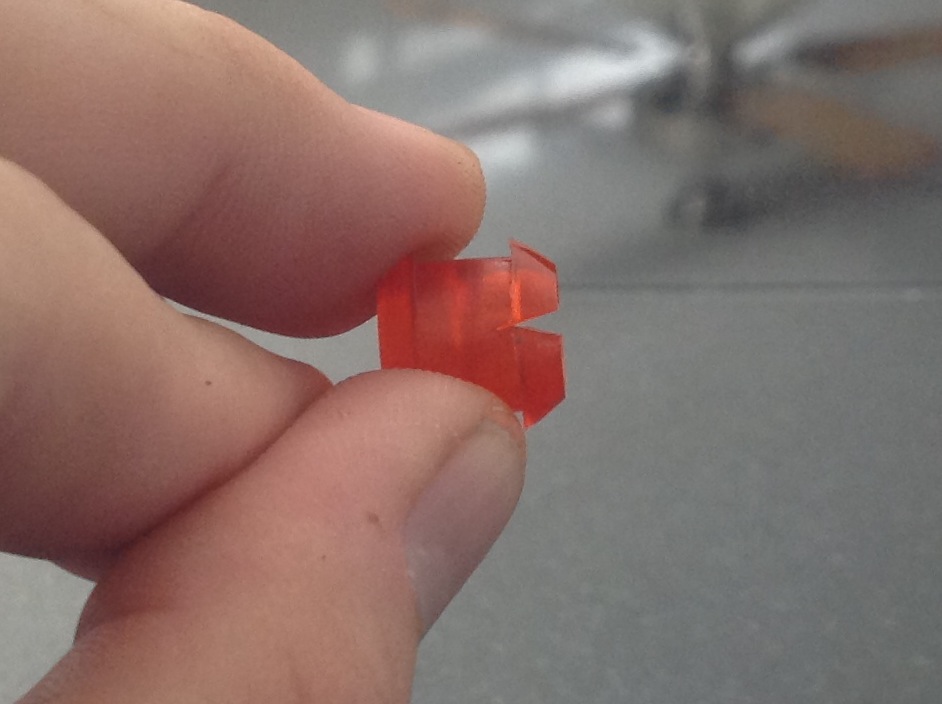
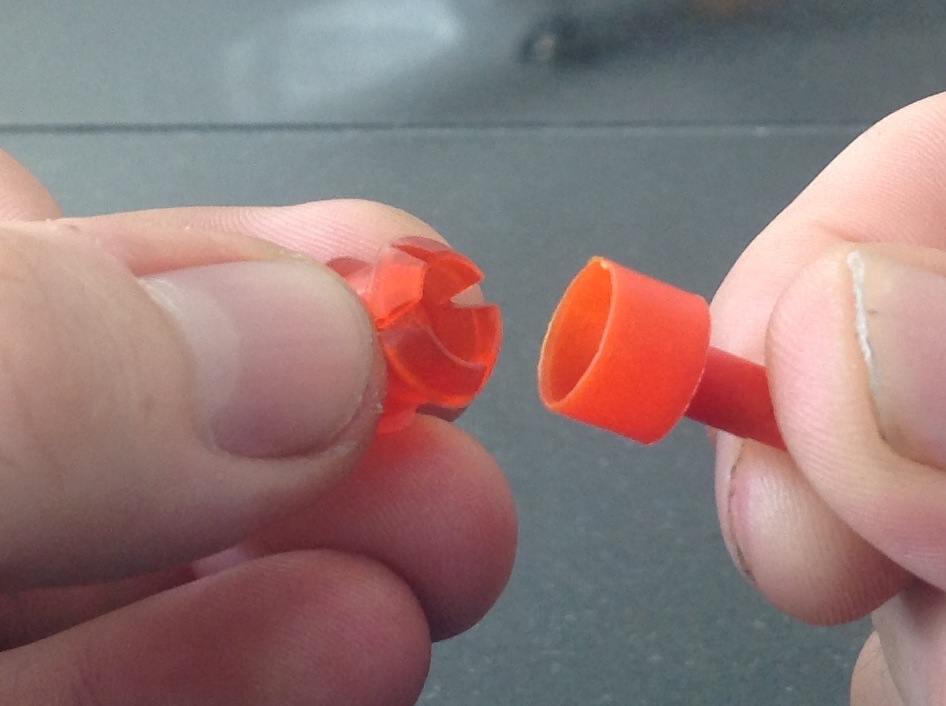
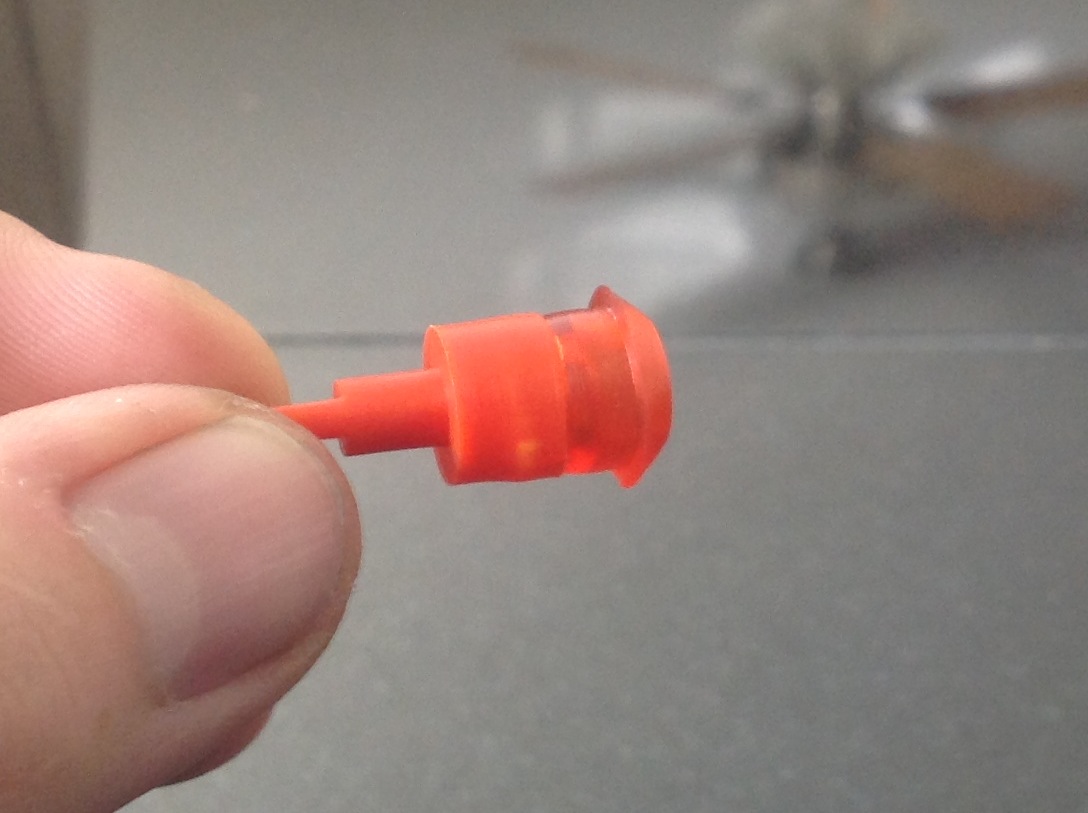
4. Install the bushing into the shift cable end by pushing the bushing - from the center of the vehicle toward the outside of the vehicle - so that way the tip of the cup is pointing toward the driver's side.
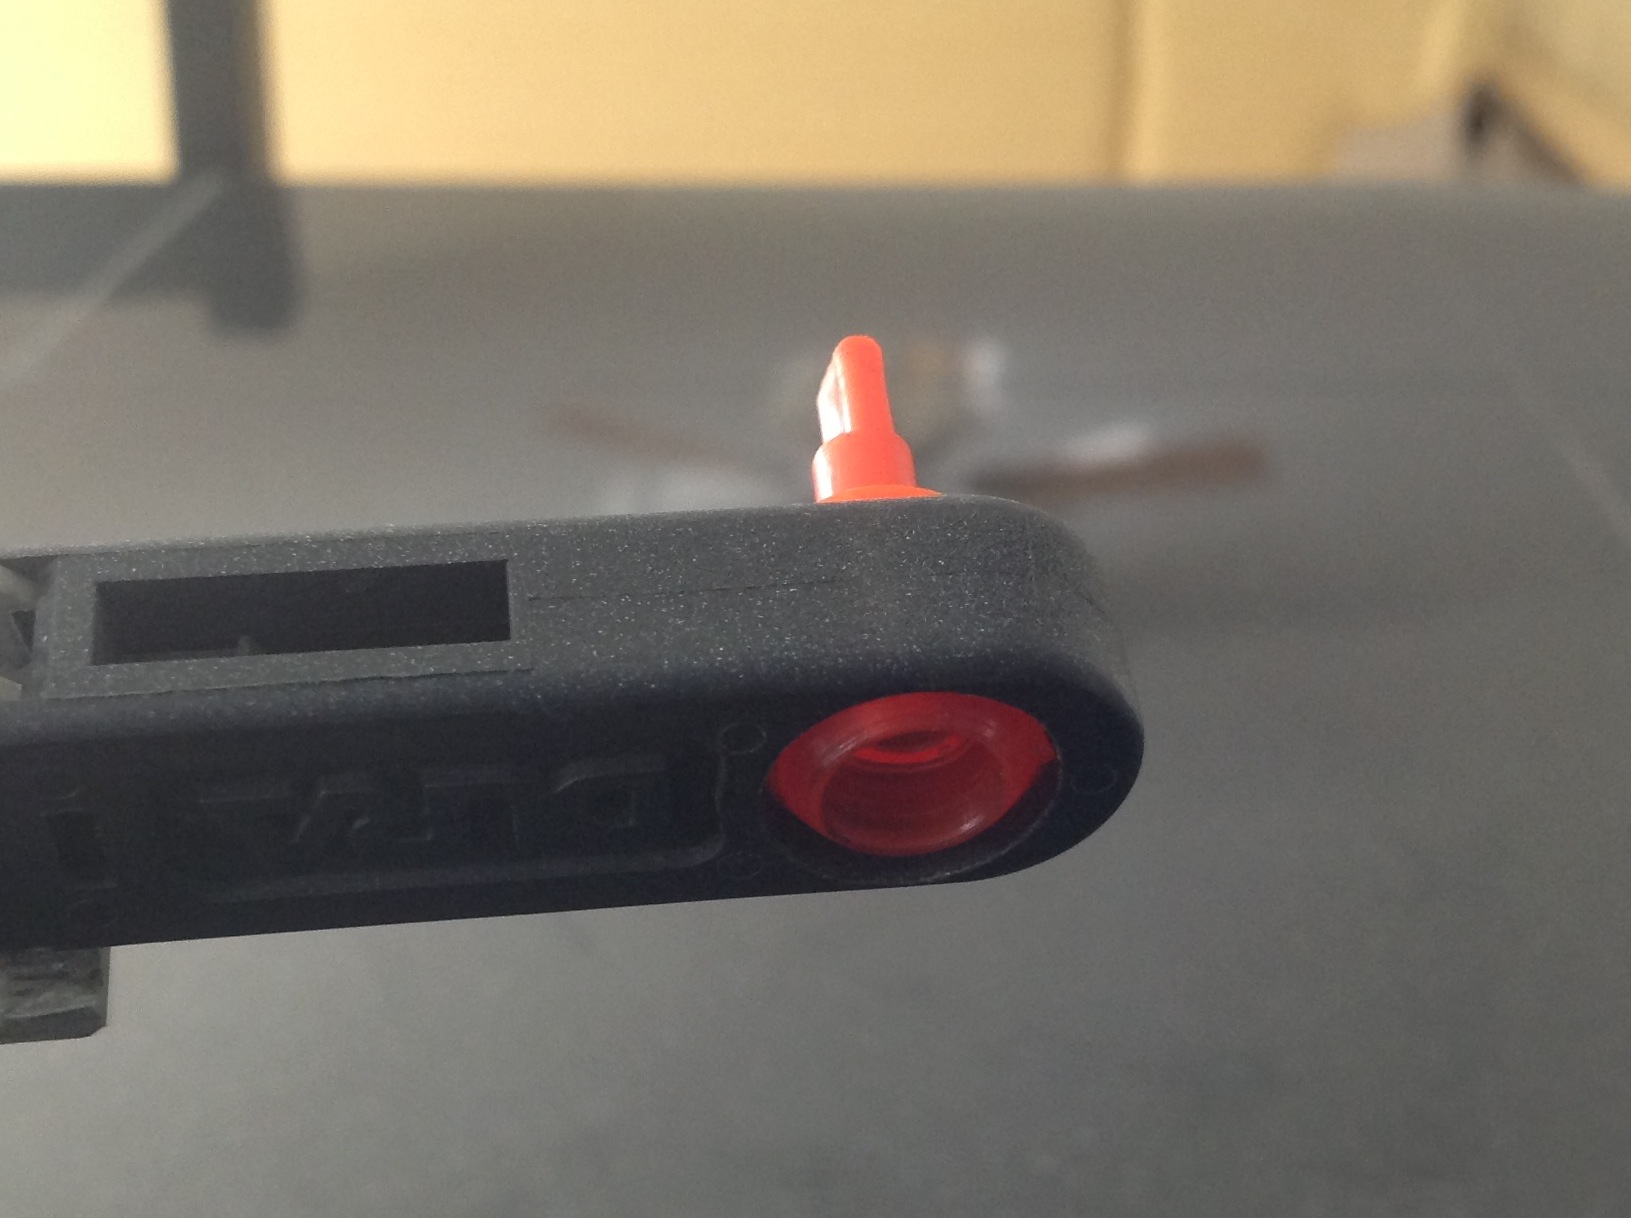
5. Once the bushing has been pushed into place, grab and pull the cup off of the bushing.
TIP: If the red cup will not fit through your cable end simply push the bushing through with your fingers.
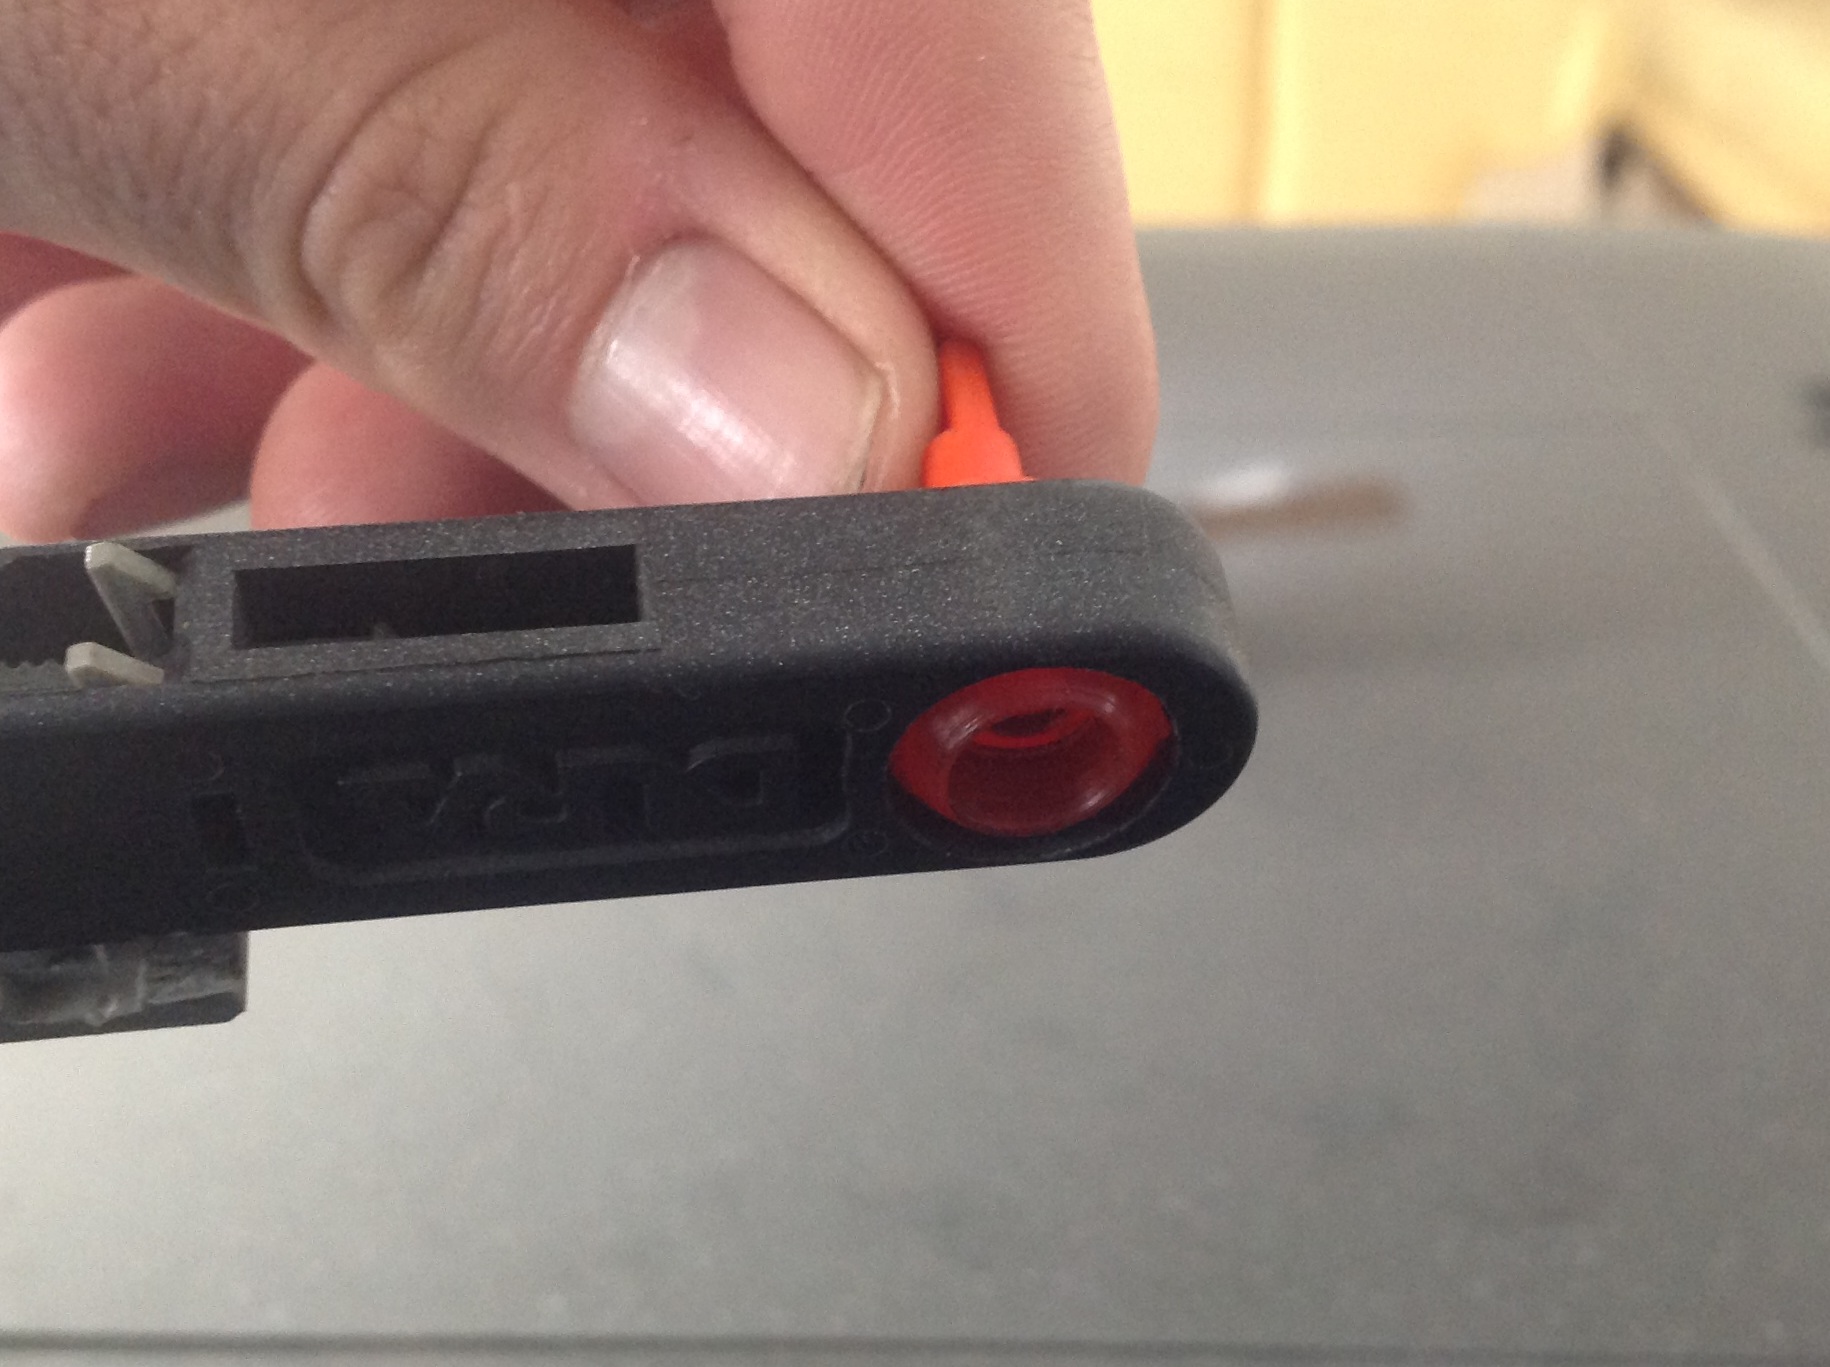
6. Make sure the bushing has popped into place and is secure.
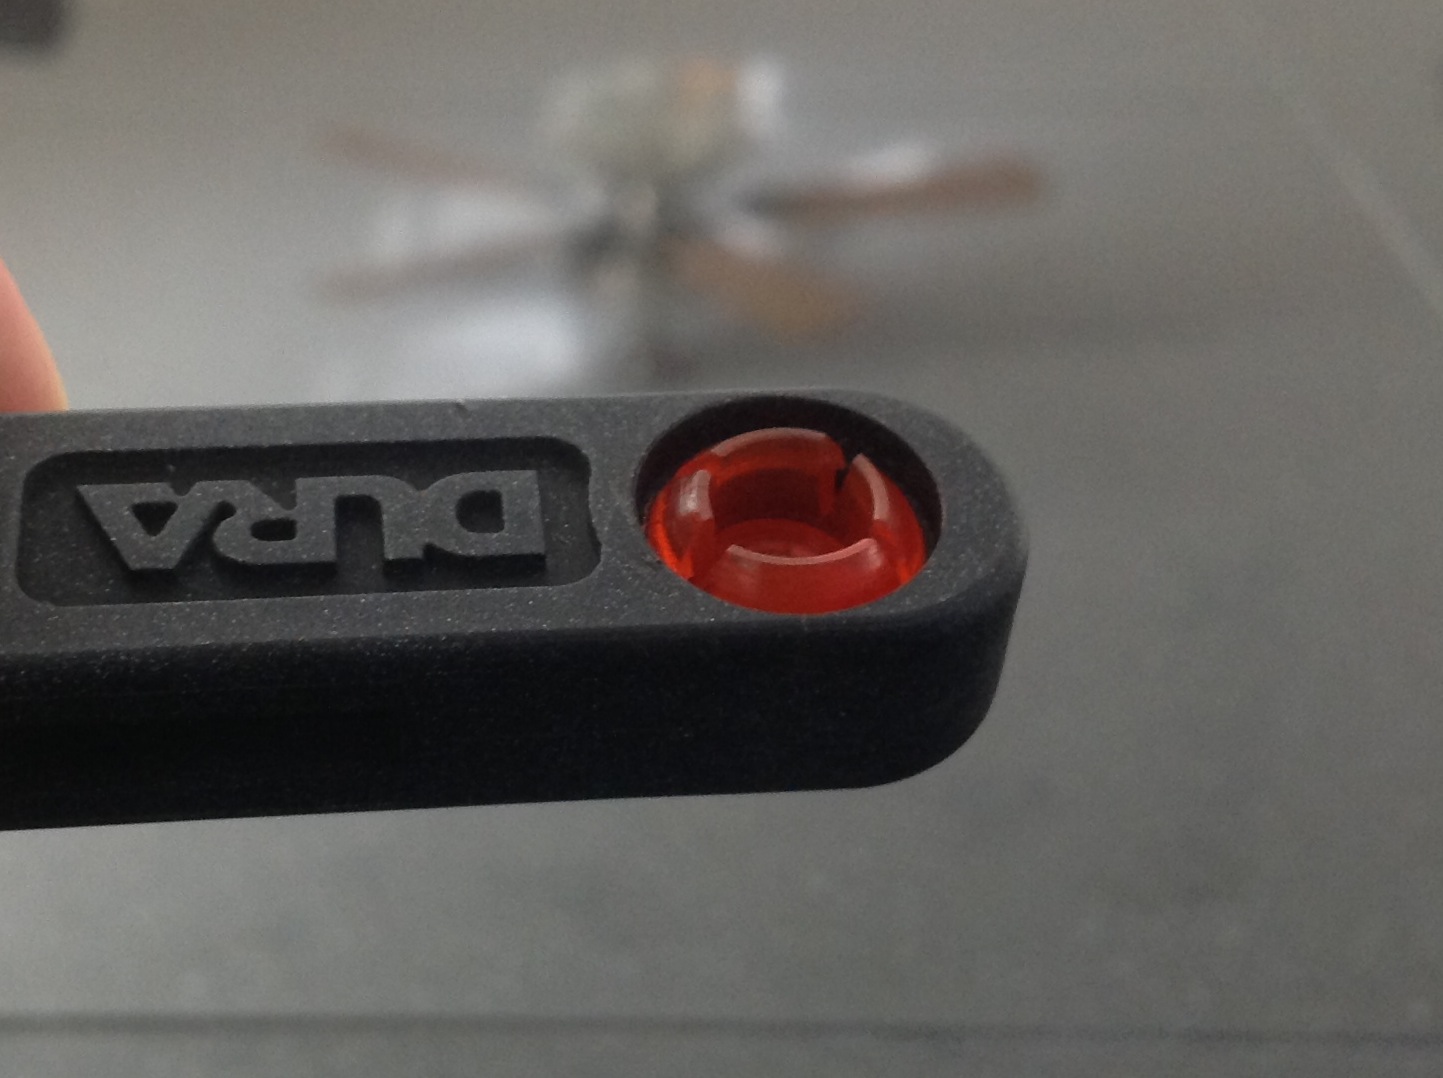
7. Reinstall the cable end onto the transmission lever by covering the smooth side of the bushing with your thumb and pressing the notched side onto the pin or shift lever. Be sure there are no pieces of the old bushing on the transmission lever.
TIP: If your bushing feels too firm to press onto the pin follow these instructions in order to make this bushing softer for easier installation. Heat a cup of water in the microwave for 90 seconds. Place the bushing into the cup of hot water for 30 to 40 minutes, remove and begin installation. DO NOT PLACE BUSHING IN THE MICROWAVE!
8. Before starting the vehicle, test the shift cable by moving it from Park to first gear and back several times.
9. Don't forget to remove the wheel blocks and disengage the parking brake.
