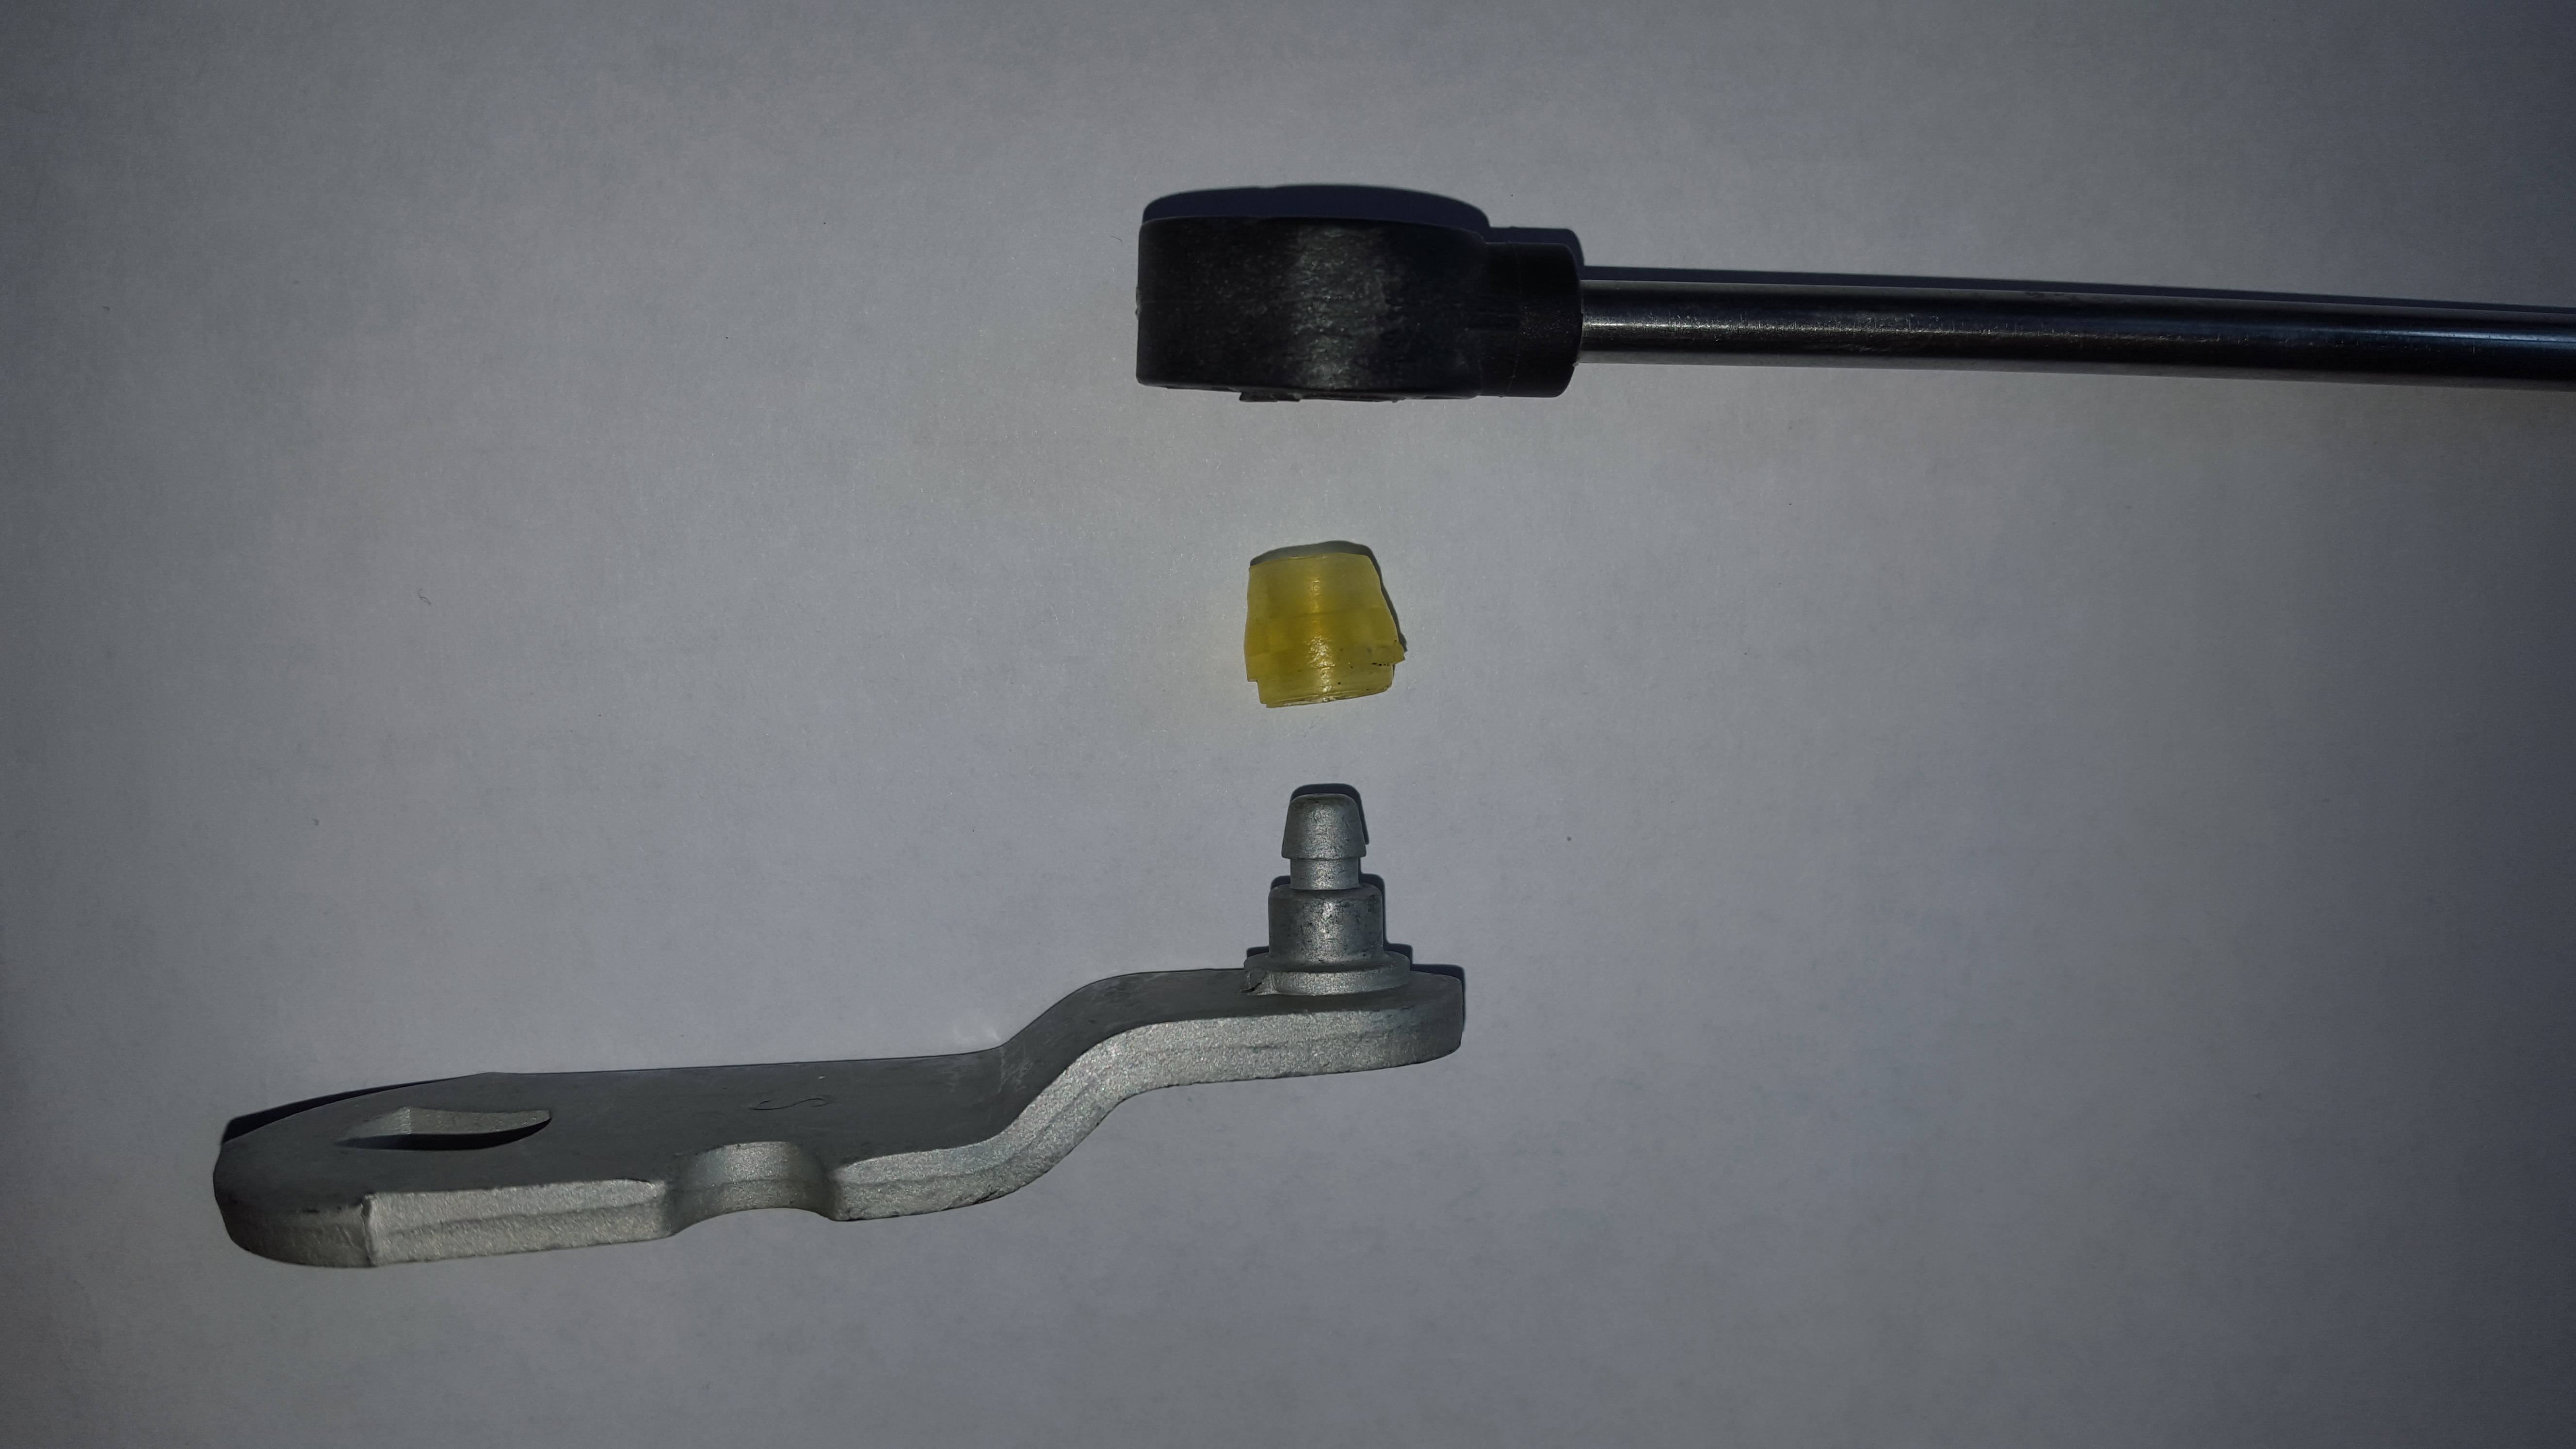
SI2Kit™ (green bushing)
The SI2Kit™ fits several different cable ends depending upon Year, Make, Model. The installation is the same regardless of cable end. The picture below illustrates some of the various cable ends that the kit will fit.

1. Set the parking brake and block the wheels. Place the transmission lever in park. You can verify its position by checking the PRNDL indicator inside the vehicle or trying to move the vehicle. It shouldn't roll very far if the park pawl is engaged. Next, access the shift cable end. In most vehicles, it's underneath the vehicle about where the front right side of the driver's seat would be. If your bushing is broken, the cable will probably be hanging down slightly.
2. If there are any remains of the old bushing, remove them from the cable end with a right-angle pick or small screwdriver. Be sure to get all the small bits and pieces.
3. Take a note of the tapered end of the bushing.

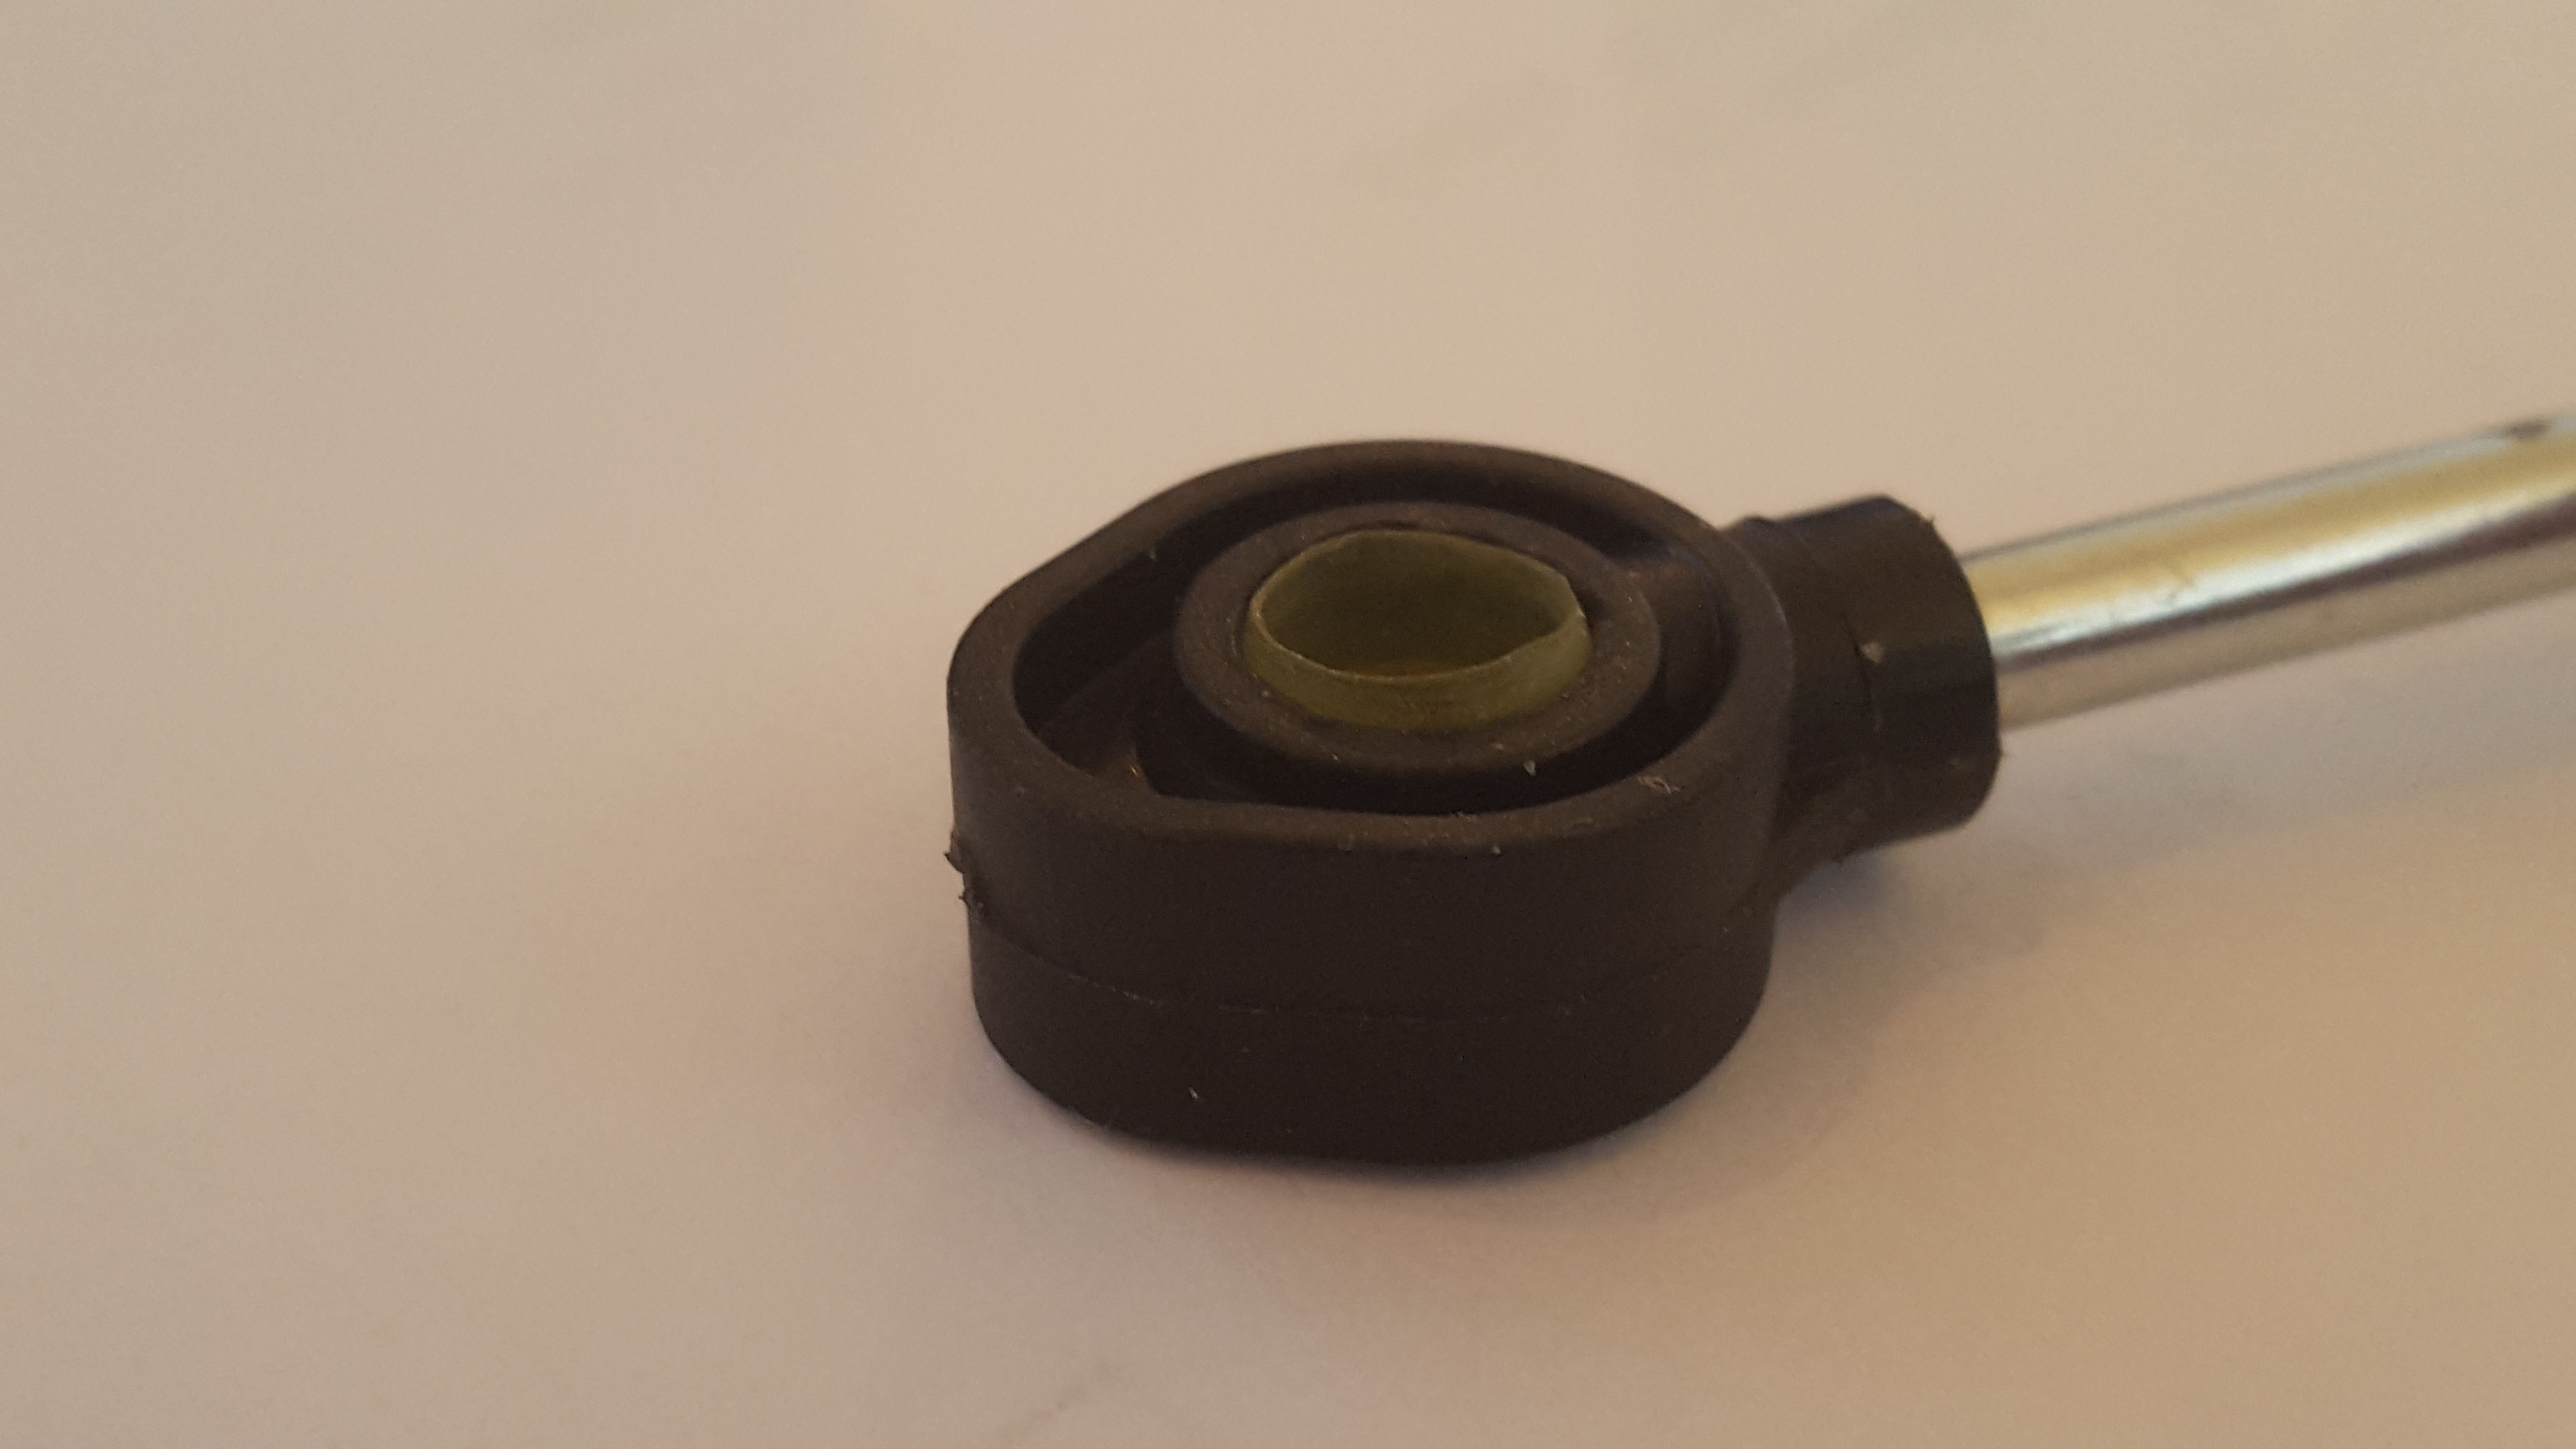
4. Install the bushing into the shift cable end by pushing the bushing into the cable end sideways. Use a pocket screwdriver to rotate the bushing into place. Use the tool included in the kit like a shoehorn to help position the edges of the bushing. Don’t pry with the included tool - it will break. If you need to pry, gently use the small screwdriver. When the bushing is centered, it will look like the picture below. It's okay for the tapered end to be slightly protruding from the cable end. This is normal.

5. Install the cable end onto the transmission lever by pressing it with your thumb. Place your thumb over the opposite end of the hole while doing this.
6. Before starting the vehicle, test the shift cable by moving it from Park to first gear and back several times.
7. Don't forget to remove the wheel blocks and disengage the parking brake.
