JE1Kit™
The JE1Kit™ fits at the transmission end of your vehicle's shift cable. This end will be located outside the vehicle near the transmission. This is ONLY for automatic transmissions.
*Some of the images were taken off-vehicle for illustration purposes.
Step 1: Place the vehicle in park, set the parking brake and block the wheels.
Step 2: Damaged Bushing Removal
Style A
- If possible, remove the single adjustment bolt holding the cable end to the cable and remove the end from the cable.
- Remove the remains of the old cable end bushing by removing the plastic center piece, then remove the rubber collar that surrounds it.
Style B
- The solid rubber bushing should remove pretty easily, but it may be helpful to use a small screwdriver to pry the bushing from the cable end.
Step 3: Replacement Bushing Installation
- Place the bushing on a flat surface with the opening facing up.
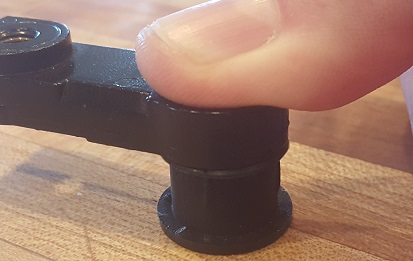
2. Place the cable end over the bushing and press the two pieces together. It can be done by hand, but it may be helpful to use a vise, your body weight, or if used very carefully, pliers (if using pliers, be sure to use a piece of wood or metal to distribute the force). Once the bushing is inserted 75% into the cable end, it can be pressed the remainder by hand.
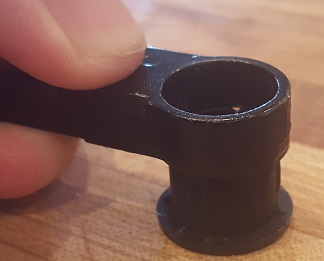
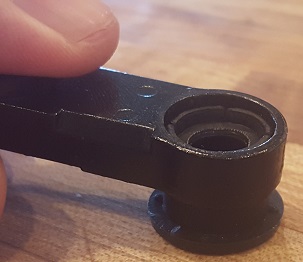

3. If the cable end was removed in step 2, place the cable end back on the cable tongue and install the bolt but don’t tighten it.
4. Make sure both the transmission lever and shift lever are in Park.
5. Apply a small amount of the included grease to the ball and reconnect the cable end to the lever.
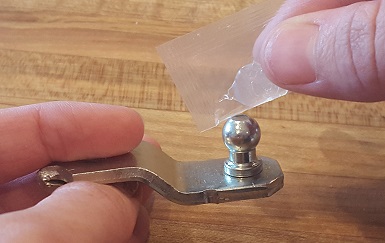
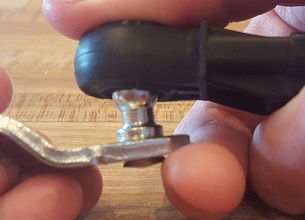
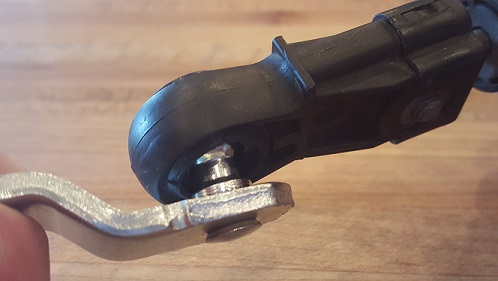
6. Tighten the adjustment bolt (if necessary).
7. Shift back and forth between Park and 1 several times to check the installation.
8. Don’t forget to release the parking brake and remove the wheel blocks.
