IM1Kit™
*Some of the images were taken off-vehicle for illustration purposes.
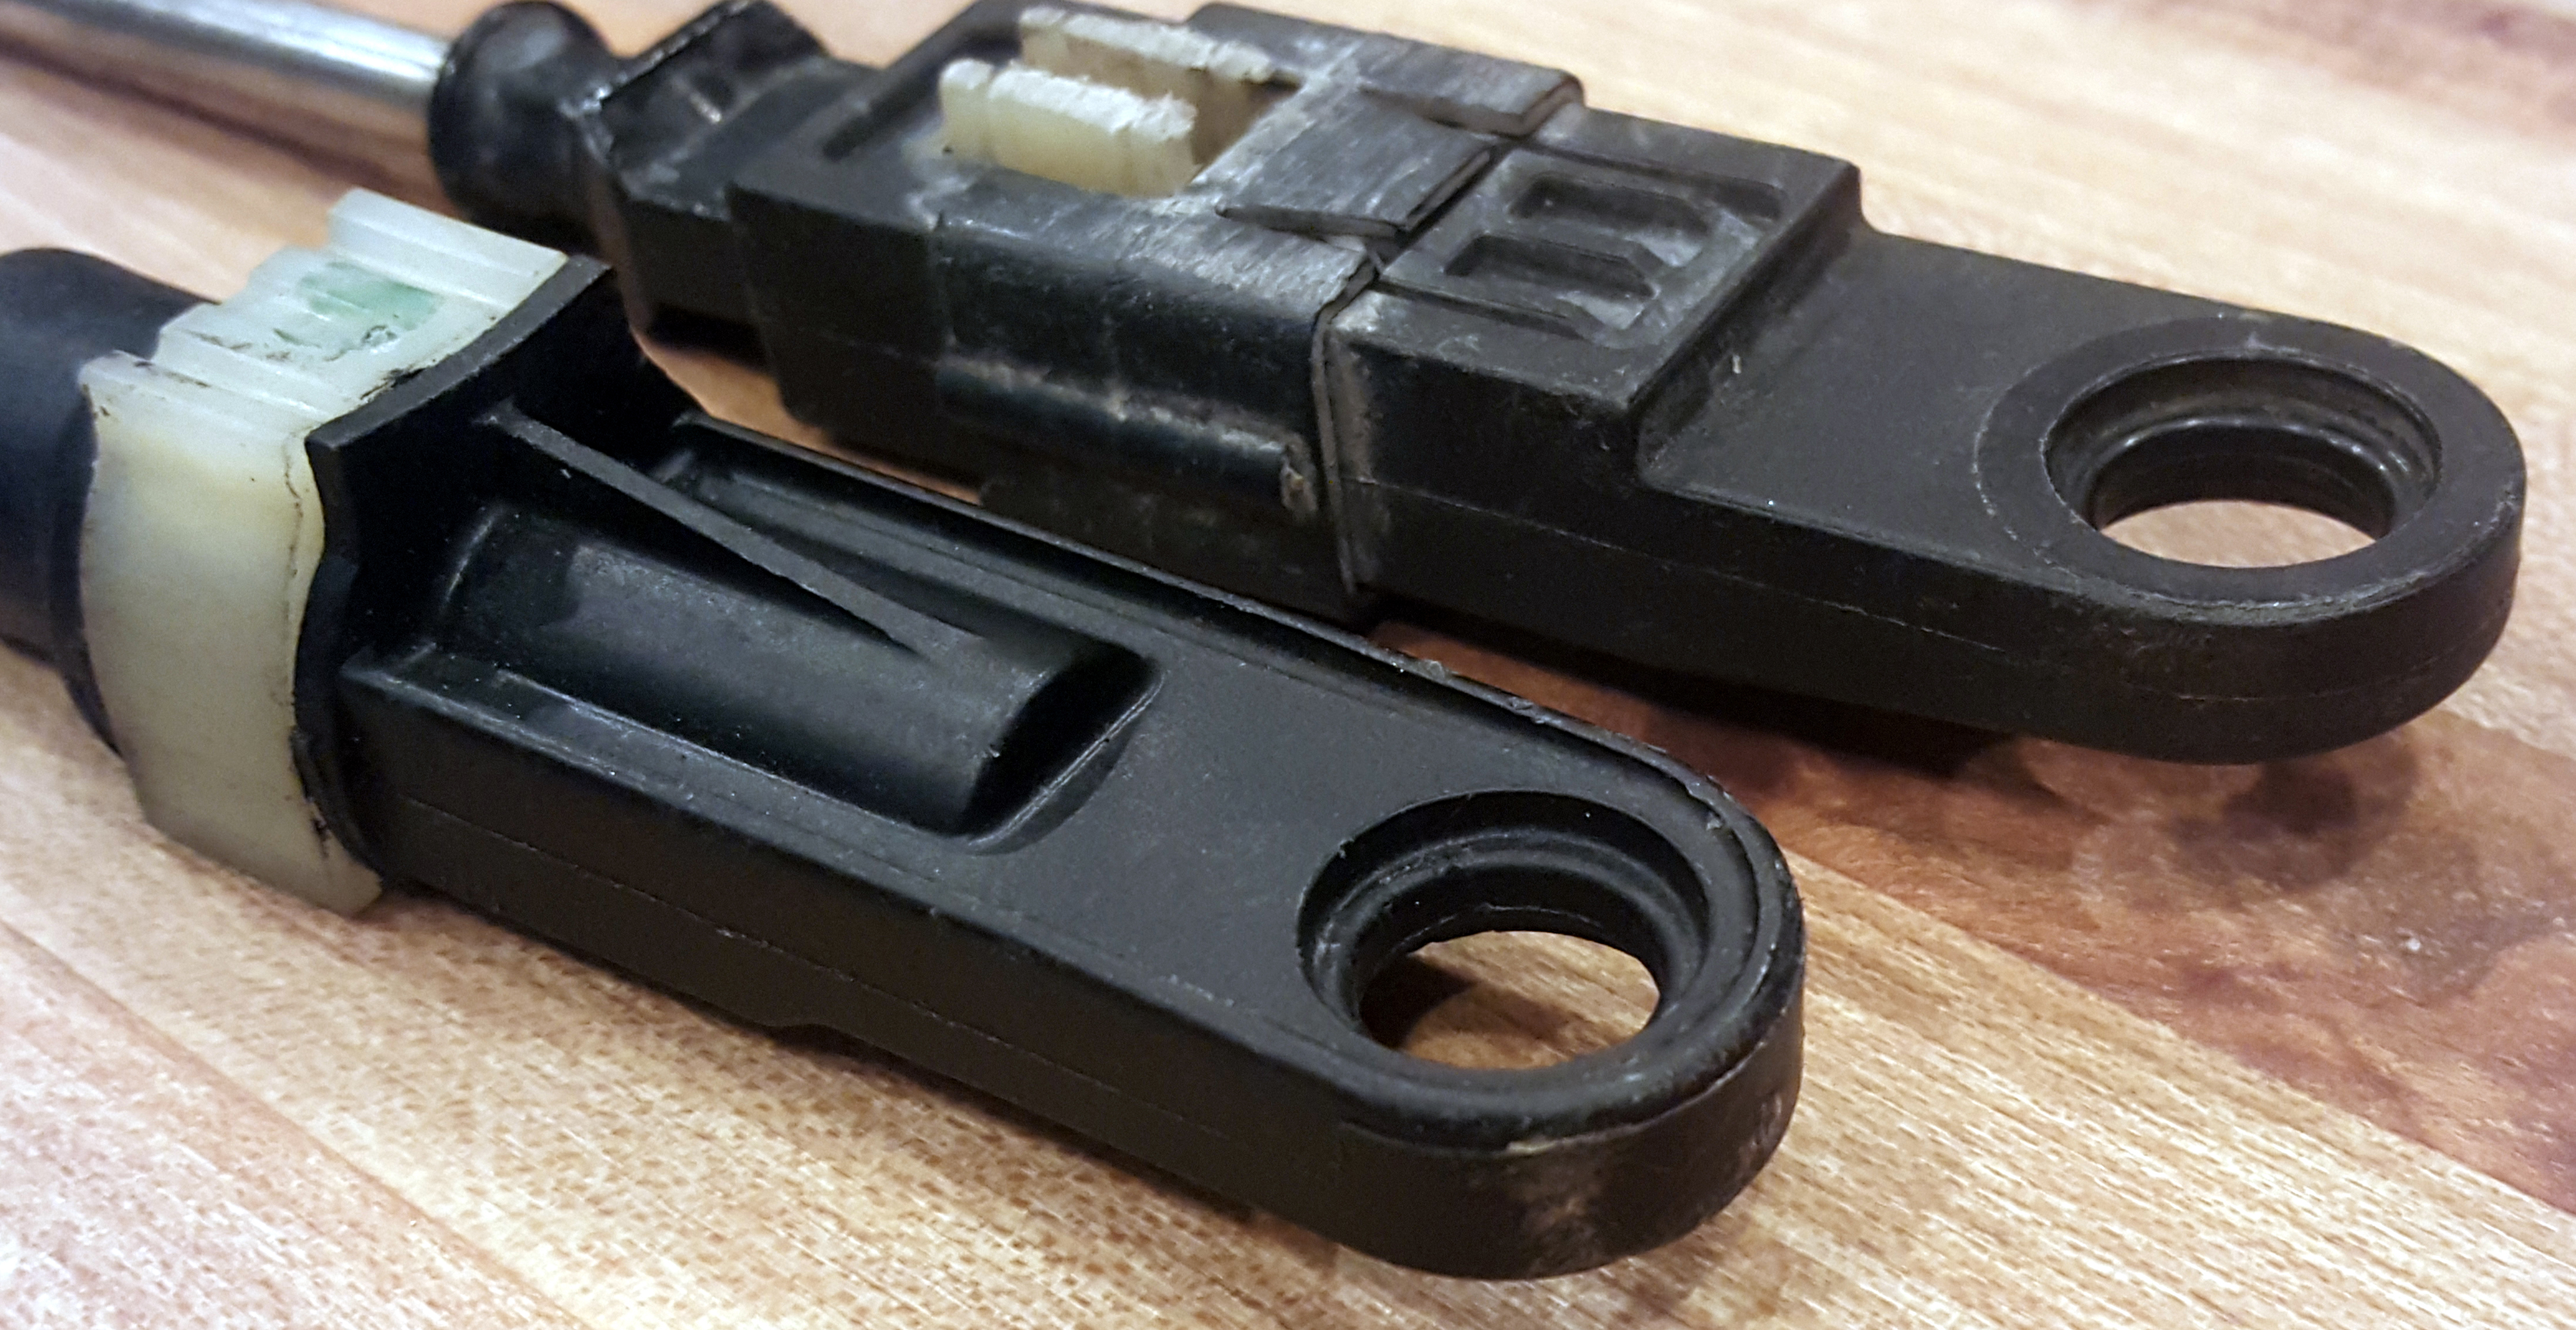
1. The IM1Kit™ fits several different cable ends depending upon Year, Make, Model. The installation is the same regardless of cable end. The picture below illustrates some of the various cable ends that the kit will fit.

2. Set the parking brake or block the wheels. Place the transmission lever in park. You can verify its position by checking the PRNDL indicator inside the vehicle. Next, access the shift cable end. If your bushing is broken, it'll probably be hanging down slightly.
3. If there are any remains of the old bushing, remove them from the cable end with a pick or small screwdriver.
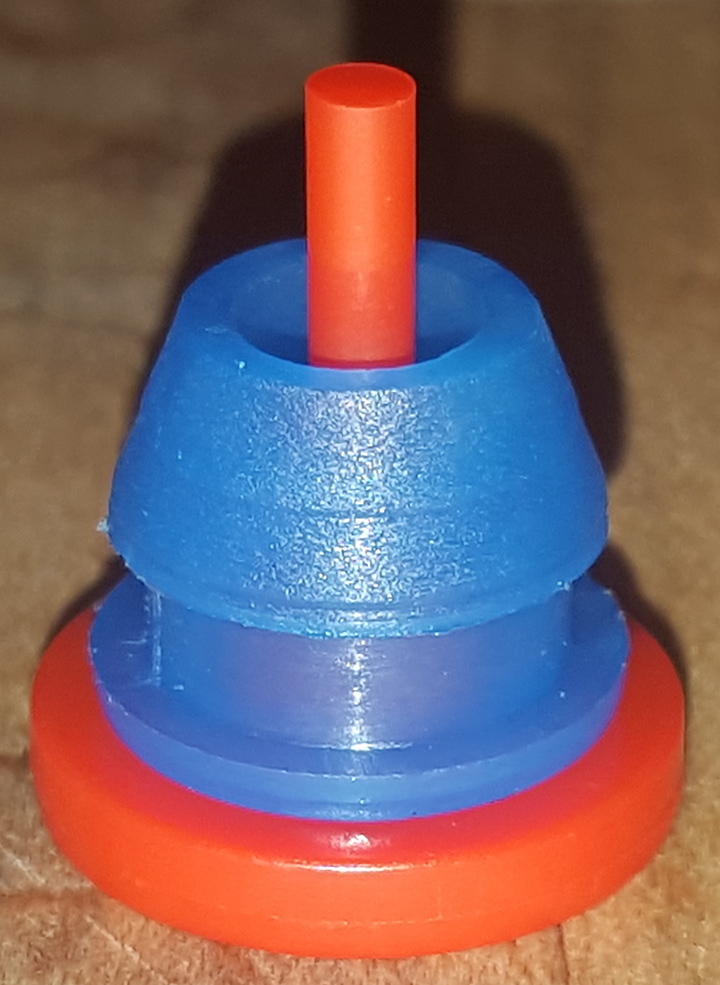
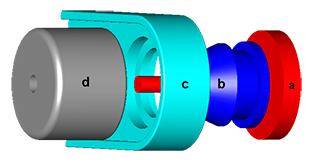
4. Place the new bushing on the installer. Place the tapered end of the bushing against the cable opening so the tapered end will point away from the shift lever after installation. Place the receiving cup against the opposite side of the shift cable end so that the hole in the cup aligns with the post on the installer.


5. Use adjustable pliers to gradually squeeze the bushing into the cable end. Depending on the thickness of your cable end, the installer post may protrude from the hole in the cup upon installation. If this happens, adjust the position of the pliers accordingly. After installation, remove the cup and installer and discard.
6. Reinstall the cable end onto the transmission lever. Be sure there are no pieces of the old bushing on the transmission lever.
7. Before starting the vehicle, test the installation by moving the shift lever from Park to first gear and back several times.
8. Don't forget to remove the wheel blocks and disengage the parking brake.
