GM1Kit™
The GM1Kit™ fits the transmission shifter cable. This is ONLY for automatic transmissions.
This will fit the transmission end of the cable
(Please make sure your cable looks like the one below if unsure call us)
*Some of the images were taken off-vehicle for illustration purposes.
- Cable Style and Lever: Below you will see examples of the cable styles the GM1Kit will repair. Please make sure your cable-end resembles the styles below before continuing or call us at 863-644-1216 with questions and a picture of your cable end!
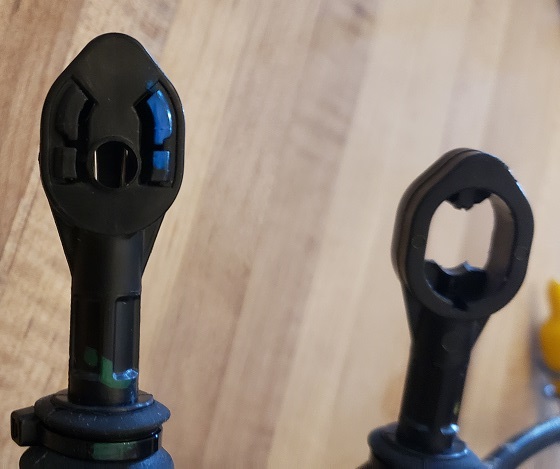
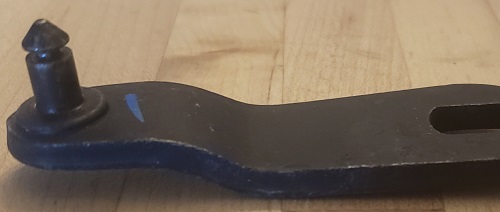
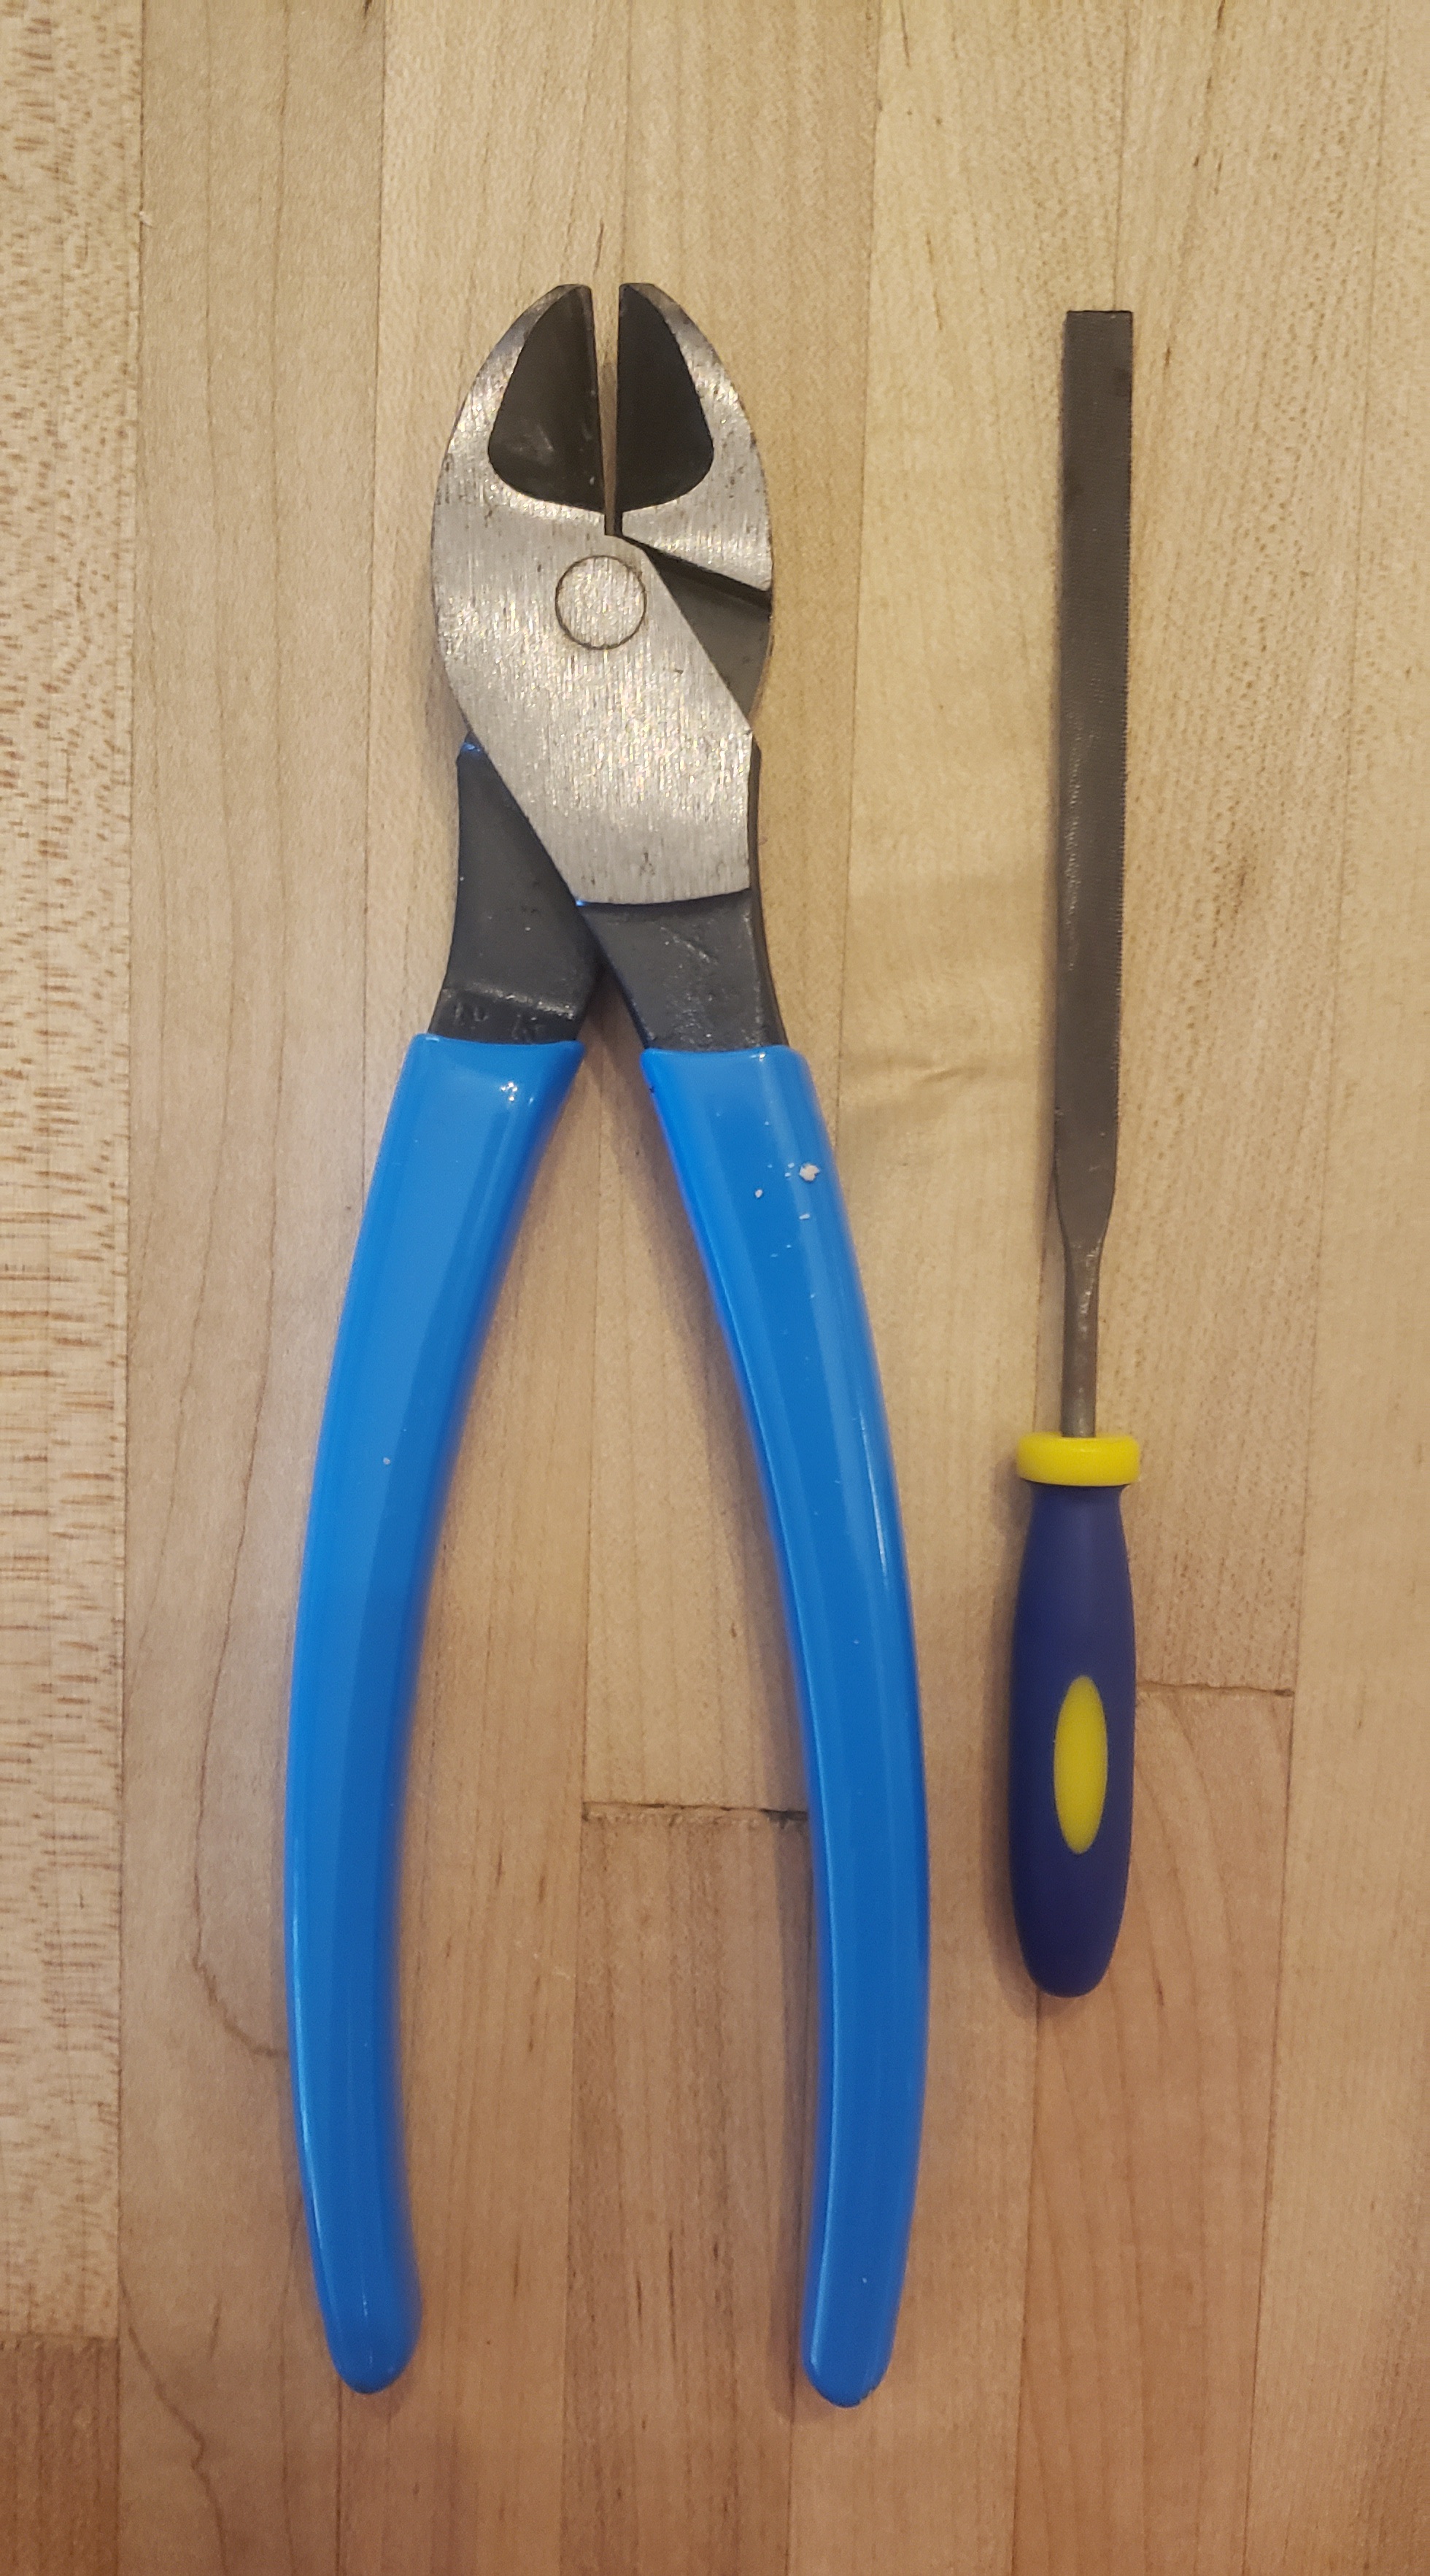
- Tools and Preparation: Before you began it will be helpful to have a small flat head screw driver, snips or other cutting tool, and a small file (see image below). After you have your tools place the shift lever and transmission lever in Park.
- Cable-end Face Removal: Use a small screwdriver or your fingers to gently pry the plastic back off the cable. Once the back if off you will be able to remove the cable face (the side that fits onto the shift lever and has a small hole). Once both plastic faces are removed you will see a clean open cable like below.
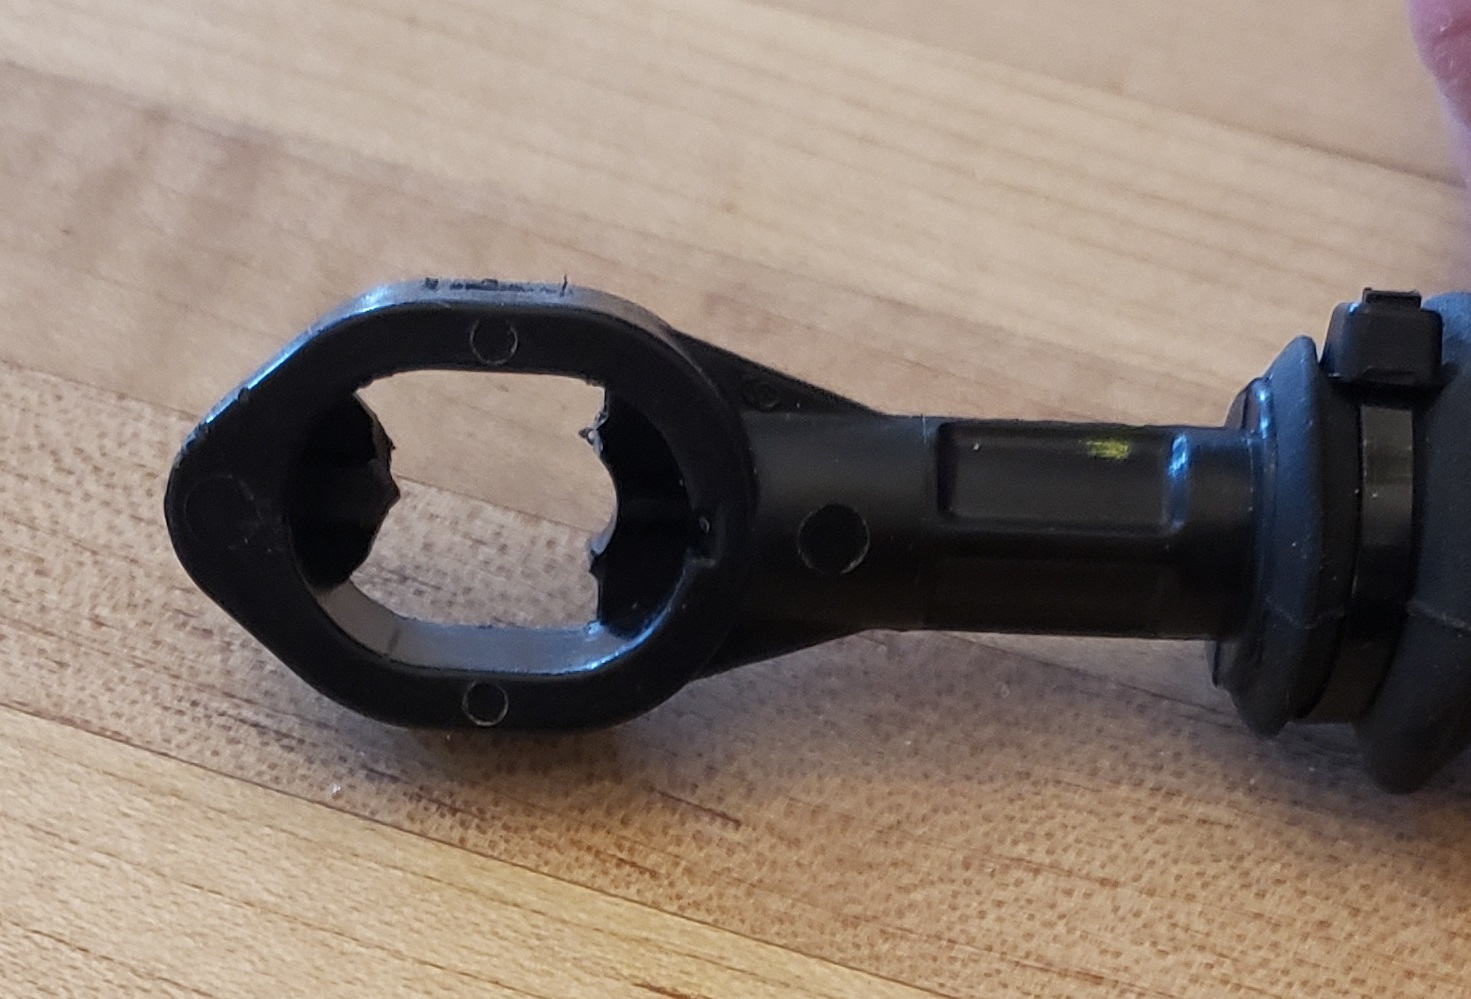
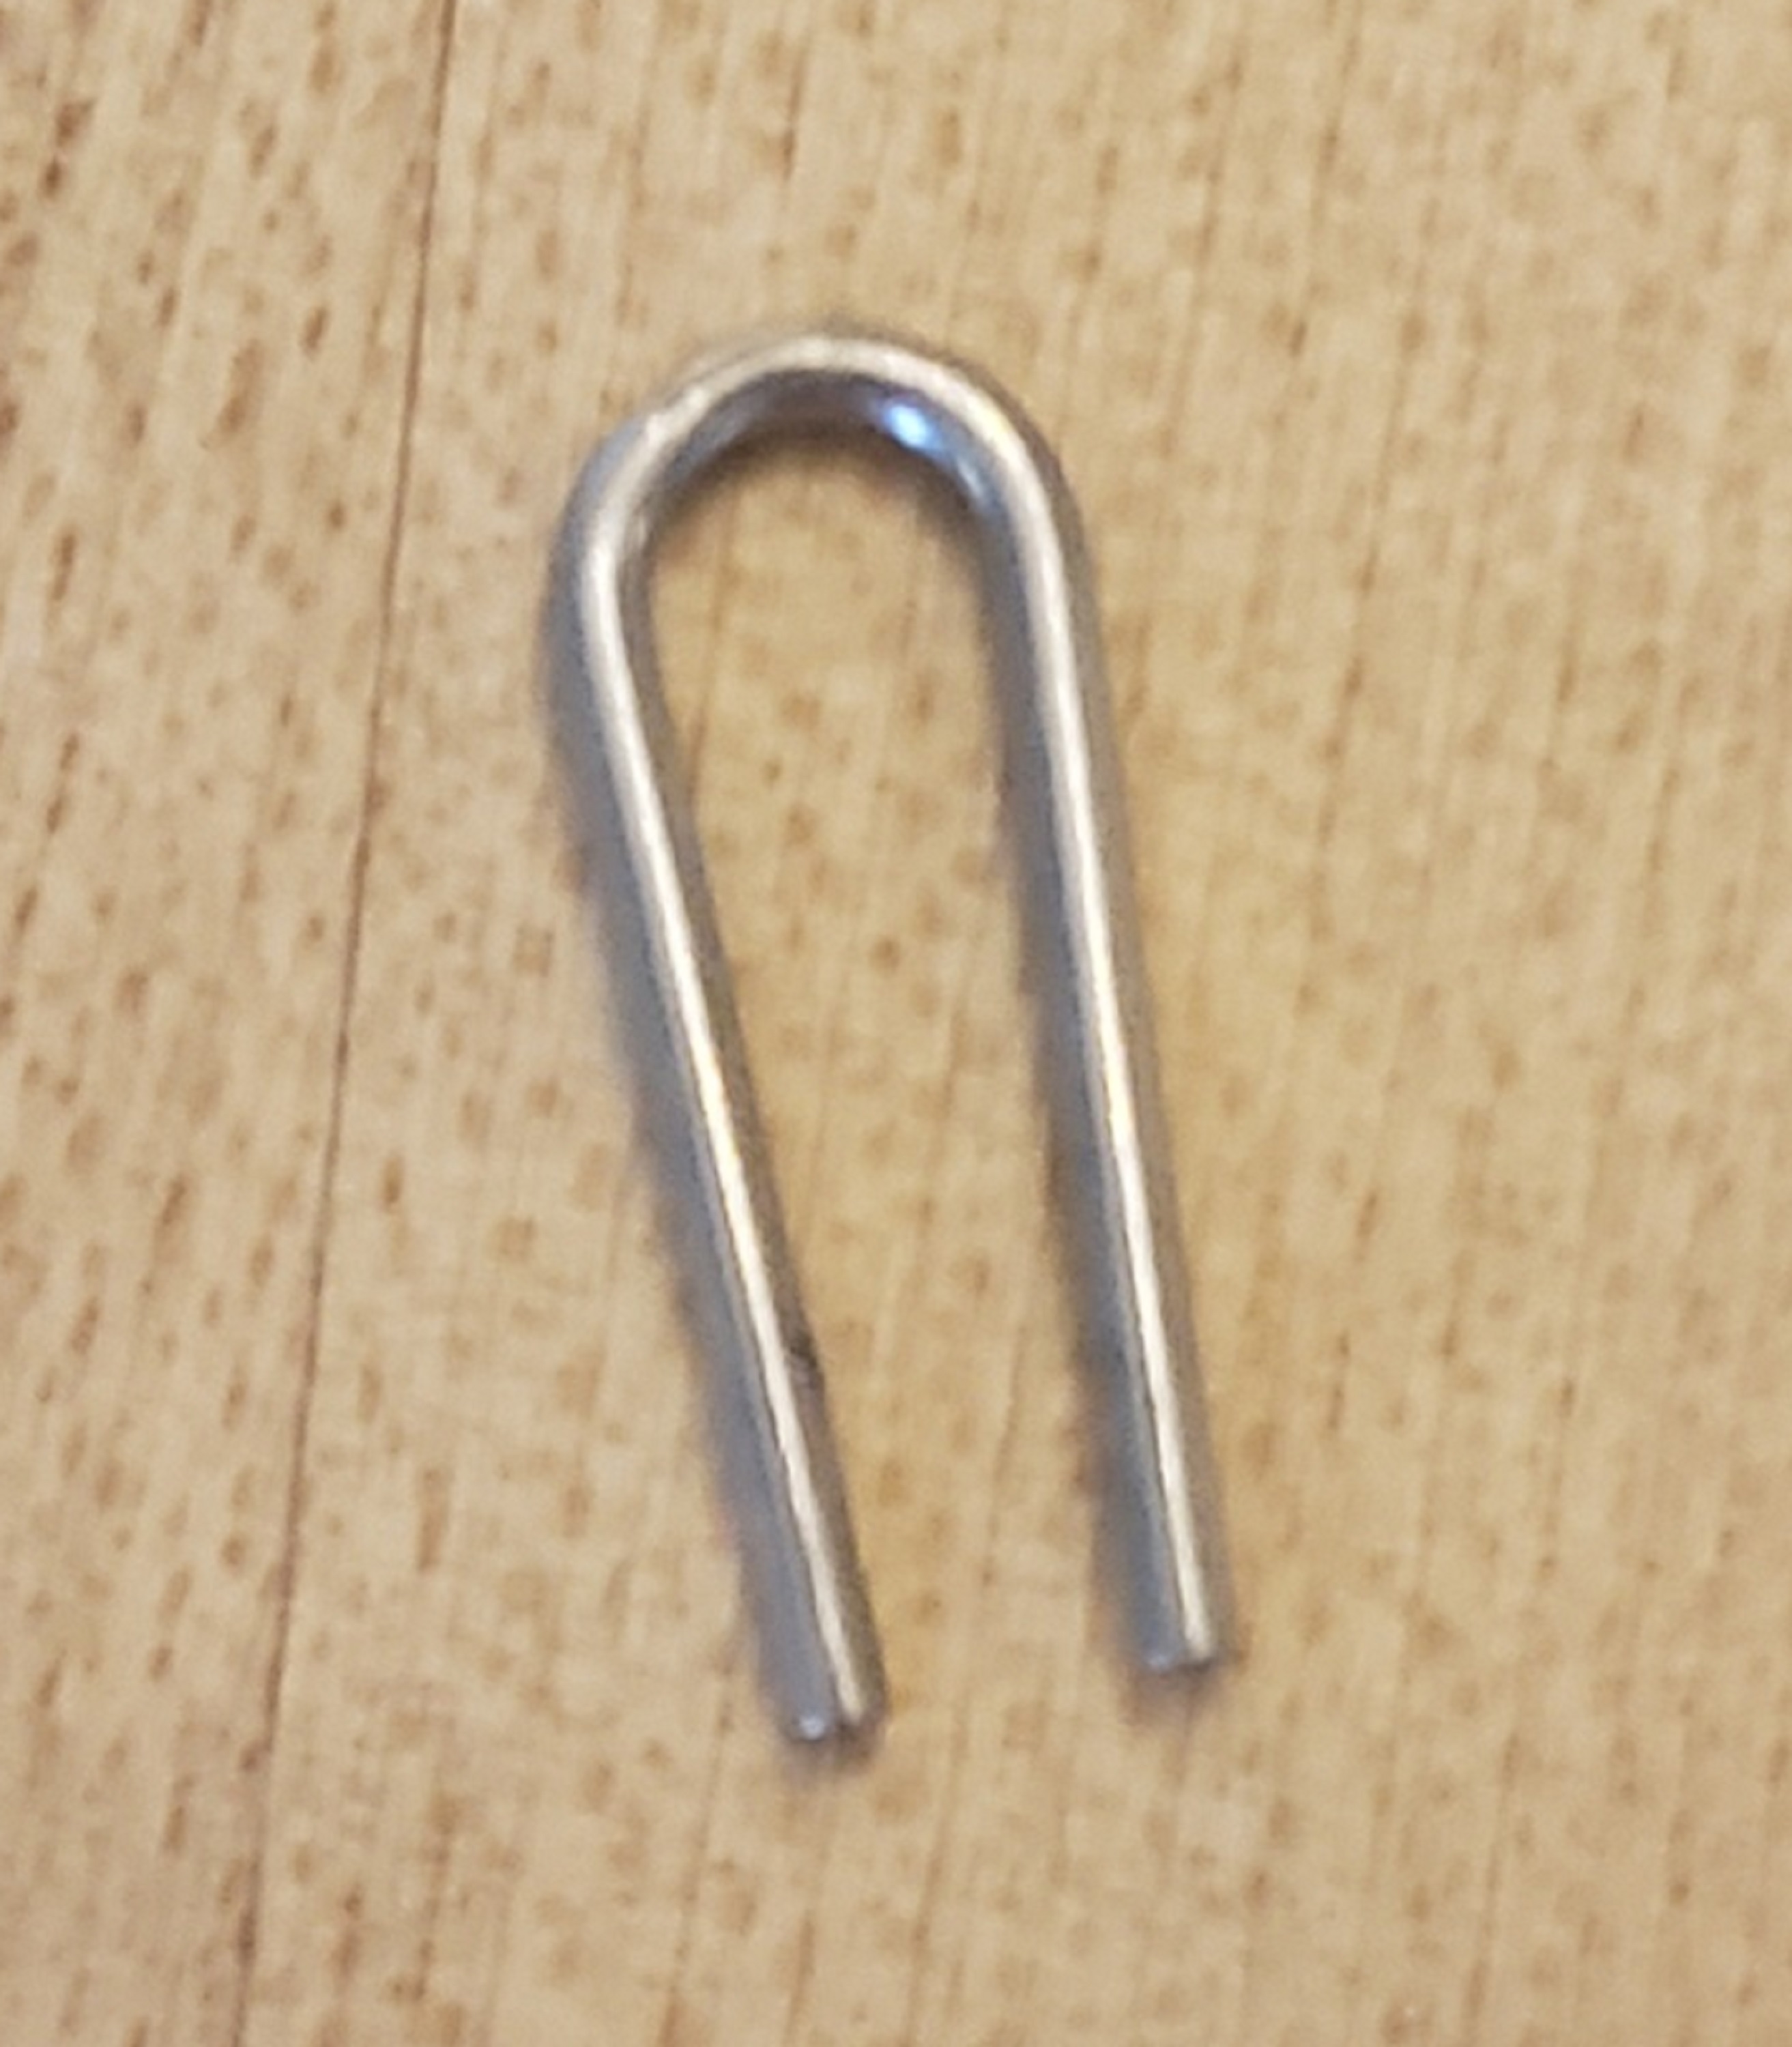
- Retaining Clip IMPORTANT: Once you remove the cable faces you will see a small metal horseshoe clip (YOU MUST KEEP THIS DO NOT LOOSE) this is the retaining clip and you should keep it in a safe place until later.
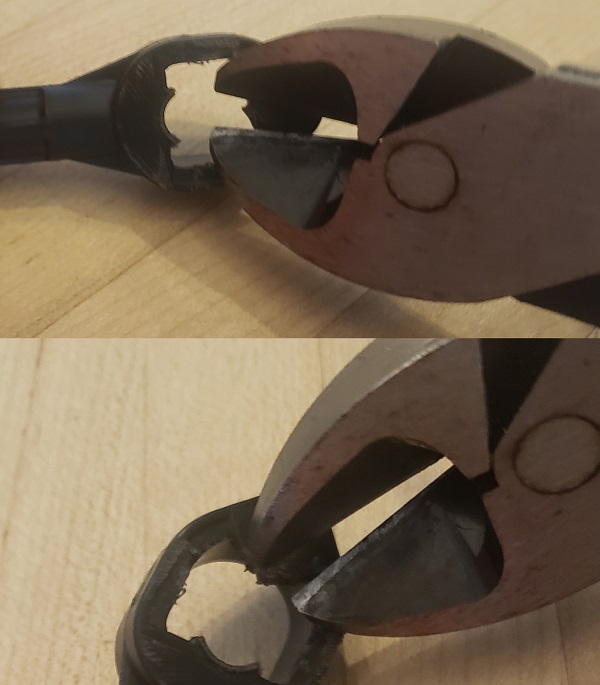
- Cable Clean-Up: You can see the image below there are red lines showing the parts that will need to be clipped or removed to allow the bushing to fit properly. Use side cutters to cut away the plastic at the places shown in red on the image below (you are removing small bits of plastic from the interior of the cable end).

- Test Fit the Bushing: Test fit the bushing, and use a file to remove any additional plastic, if necessary. You will see images below of the correct way to place the bushing in the cable end. The bushing IS direction specific.


- Install the Bushing: Install the bushing into the cable end. Please note below the proper way to place the bushing into the cable end. Line-up the bushing protrusions with the shape of the cable-end. Push the bushing into cable-end.


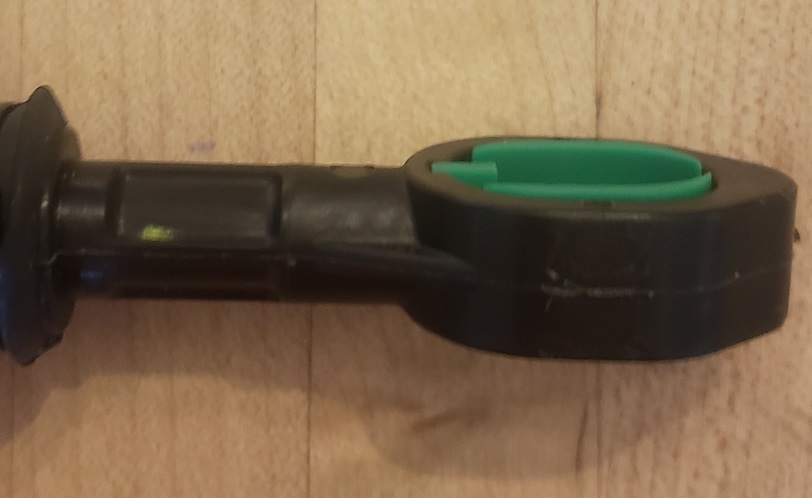
- Connect the Cable-end to the Lever: Place the cable end with the installed bushing over the shift lever on the transmission. Place the horseshoe retaining clip around the neck of the lever. To install the horseshoe clip place it on top of the lever and push down. It will snap onto the shift lever. If this does not work you can slide the clip into place using the end of the file to push it onto the neck.


- Check the installation: With the key on and engine off, shift back and forth from Park to 1 several times, checking that the PRNDL indicator lines up with the shifter position and that the shifter functions correctly.
