DR1Kit™

The DR1Kit™ fits at the end of your vehicle's transfer case (4X4) shifter.
*Some of the images were taken off-vehicle for illustration purposes.
Step 1: Place the vehicle in park, set the parking brake and block the wheels.
Step 2: Remove all of the old bushing
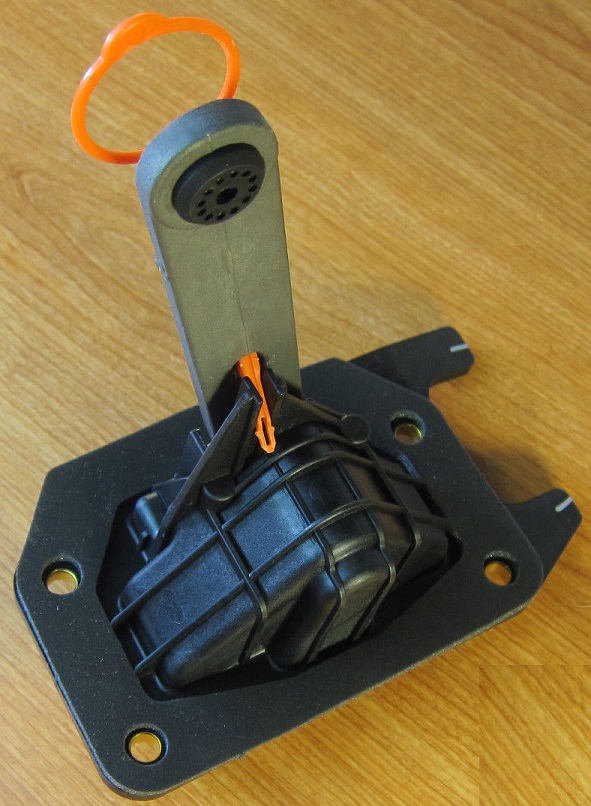
The shifter end with the old bushing will look like the one below.
Step 3: Replacement Bushing Installation
I. Position the new bushing (A) into the shifter lever end (C) so that the large, half-round tang is partially through the hole.
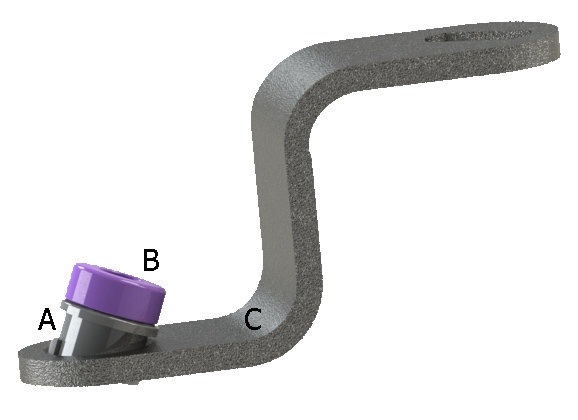
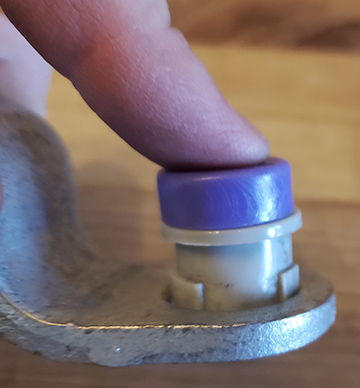
II. Use the supplied installation driver (B) to press the small tang through the cable end. If needed, adjustable pliers can be used to partially install the bushing.
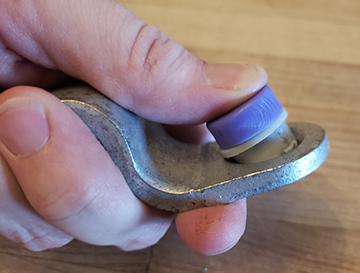
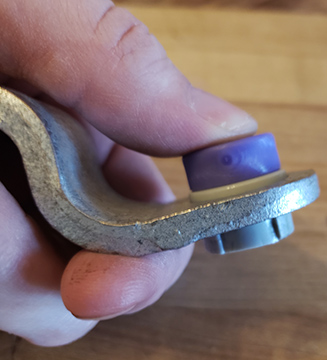
III. Check to see that the bushing is completely seated.
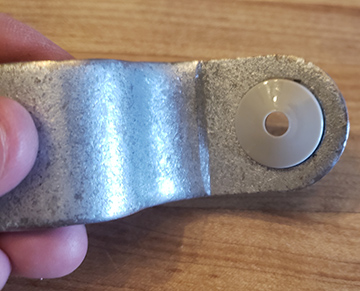
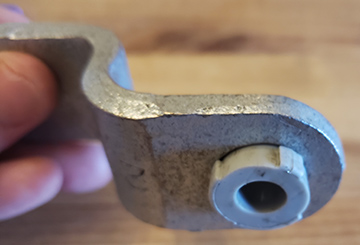
IV. Apply a small amount of grease to the shift rod pin.
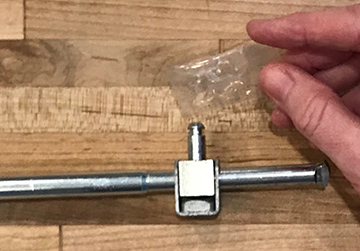
V. Brace the bushing on the opposite side of the shifter lever with the installation driver. Use your other hand to press the shift lever rod through the bushing.
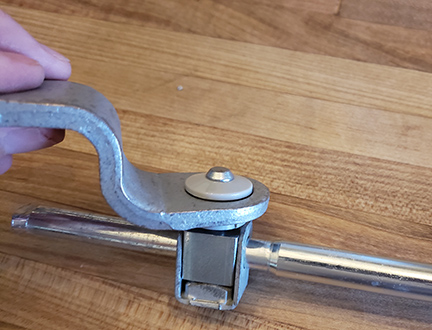
VI. Check the shift lever function by shifting several times through the full selector range.
VII. Don’t forget to release the parking brake and remove the wheel blocks.
